To launch any operating system such as Linux, Mac OS, Windows etc. you need to have an amazon web services account. If you don’t have one you can create one by clicking here. It will ask for a few details and you can create an account for free and you can use limited resources for free for one year.
Now I assume that you have created an AWS account so let’s just get started! 🎉
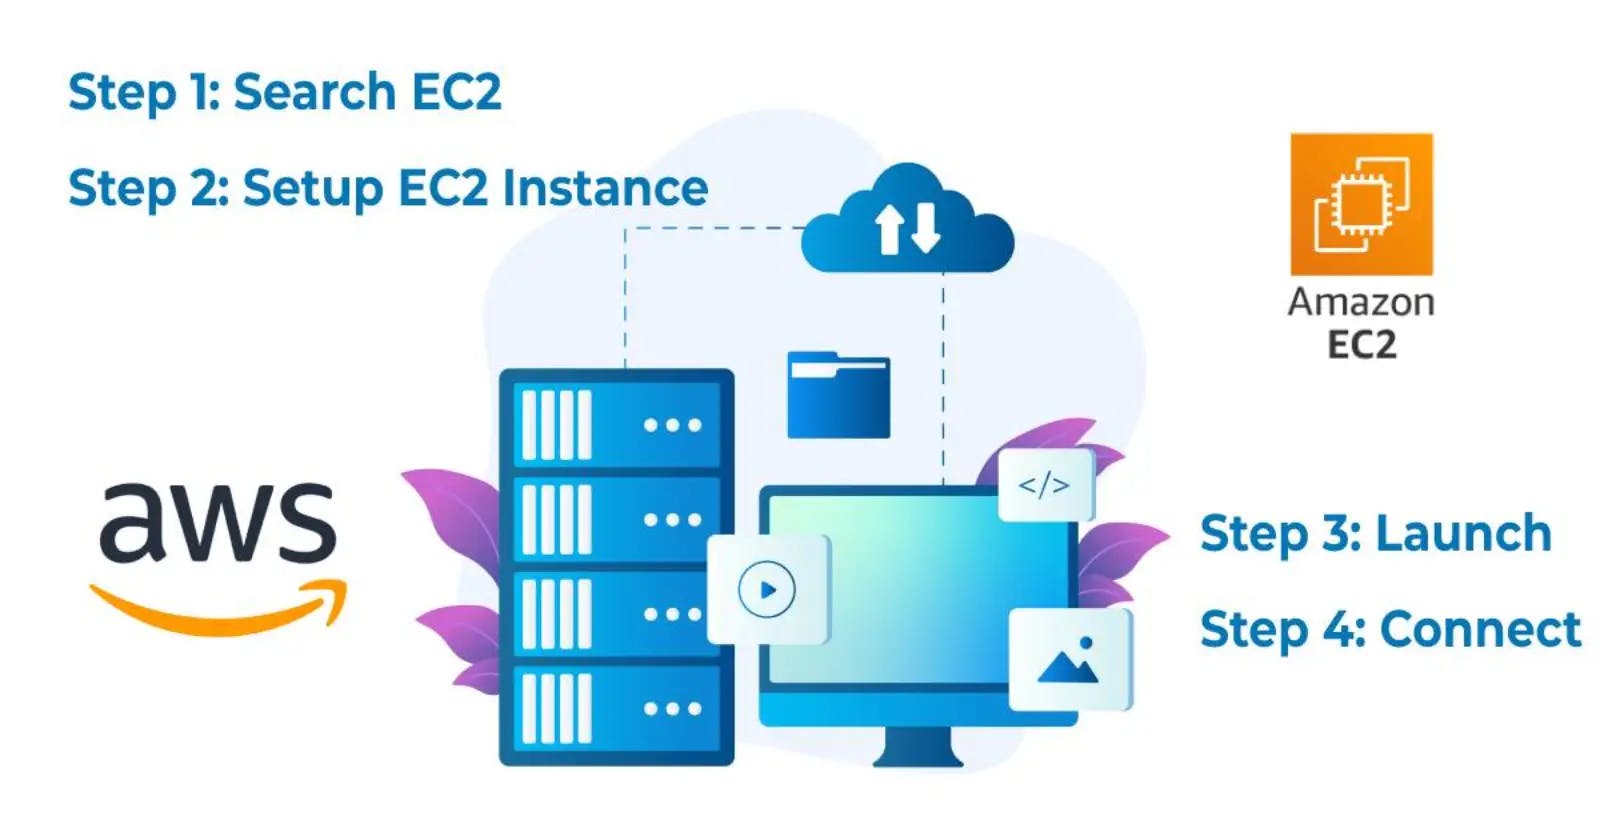
Step 1: Search EC2
EC2 is a service of AWS to create instances or computers.
At the top search bar type EC2 and in the bottom results click on EC2 service.

You will be redirected to the ec2 dashboard and now select running instances from resources.

Step 2: Setup EC2 Instance
Click on the Launch Instance button to navigate to the launch an instance page.
Now there are different sections you will see on the screen. We will set up what is required here.
Name and tags
Give a name to your computer to differentiate it from others. I will give the name as My-First-Computer.

Application and OS Images
Here we are going to select the operating system. I am selecting Ubuntu. You can select your preferred one.
Now this OS is known as AMI (Amazon Machine Image). Next, you have to select AMI which is nothing but the OS version provided by AWS. I have chosen the latest one.
For the architecture stay with 64-bit (x86). It is Intel's 64-bit computer architecture.

Instance type
Instance types are differentiated by the number of memory sizes and CPUs. Every computer needs memory and CPU and here you can select by choosing one from the list. Here I will go for t2.micro which is 1 CPU and 1 GB of Memory and it is free also this is enough for basic tasks.

Key pair (login)
The key pair is used to log in to your computer and is required. To create one click on Create new key pair and it will open a pop-up where you need to feel up a form.
Give a name for your key pair, I have given first-computer you can choose what you like.
For key pair type choose RSA and Private key format use .pem
Now click on the create key pair button.

It will ask you to download the file and choose a safe place to store the file.
Network settings
For network settings, you do not have to change anything just keep it as it is. Or you can check in below image.

Configure storage
It's time to configure the storage. Well, again you do not need to change anything here unless you have specific demand for the disk storage.
you can enter the storage size like 8 GiB and disk type whether SSD or HDD and these also have multiple options.
I will go with the default.

Step 3: Launch
Click on Launch the button at the right-hand side bottom to launch the instance.
You will see some progress while creating the instance.

Once it will finish it will show you a success message with the instance id, click on it.

Now you will see your running instance. Your computer is up and running.

Step 4: Connect
To connect to your system check the box before the name of your instance. And click on connect button at the top.

After connect button, you will see many options, there are ways to connect to the system as of now we will connect with the AWS instance connect within the browser and not use any third-party application.
Choose the EC2 Instance Connect
Now select connect button below.

It will start establishing the connection, Once it will be done you will see the OS on your browser screen.


Restart, Shut down and Terminate
To stop(shut down) the instance, go to instances and select the instance. Click on Instance State and click on stop the instance.
You can also Reboot(restart) and Terminate(delete) the instances by selecting the respective option.

When you do not need any instances, it is good practice to stop them. It will help you in cost management by not crossing the limit of hours for free users.
Congratulations 🎉 You have created and accessed your virtual computer from the AWS cloud.
