Setup Grafana in your local environment on AWS EC2

Day 73 of #90DaysOfDevOps
Follow the below steps to setup and launch Grafana in your local environment.
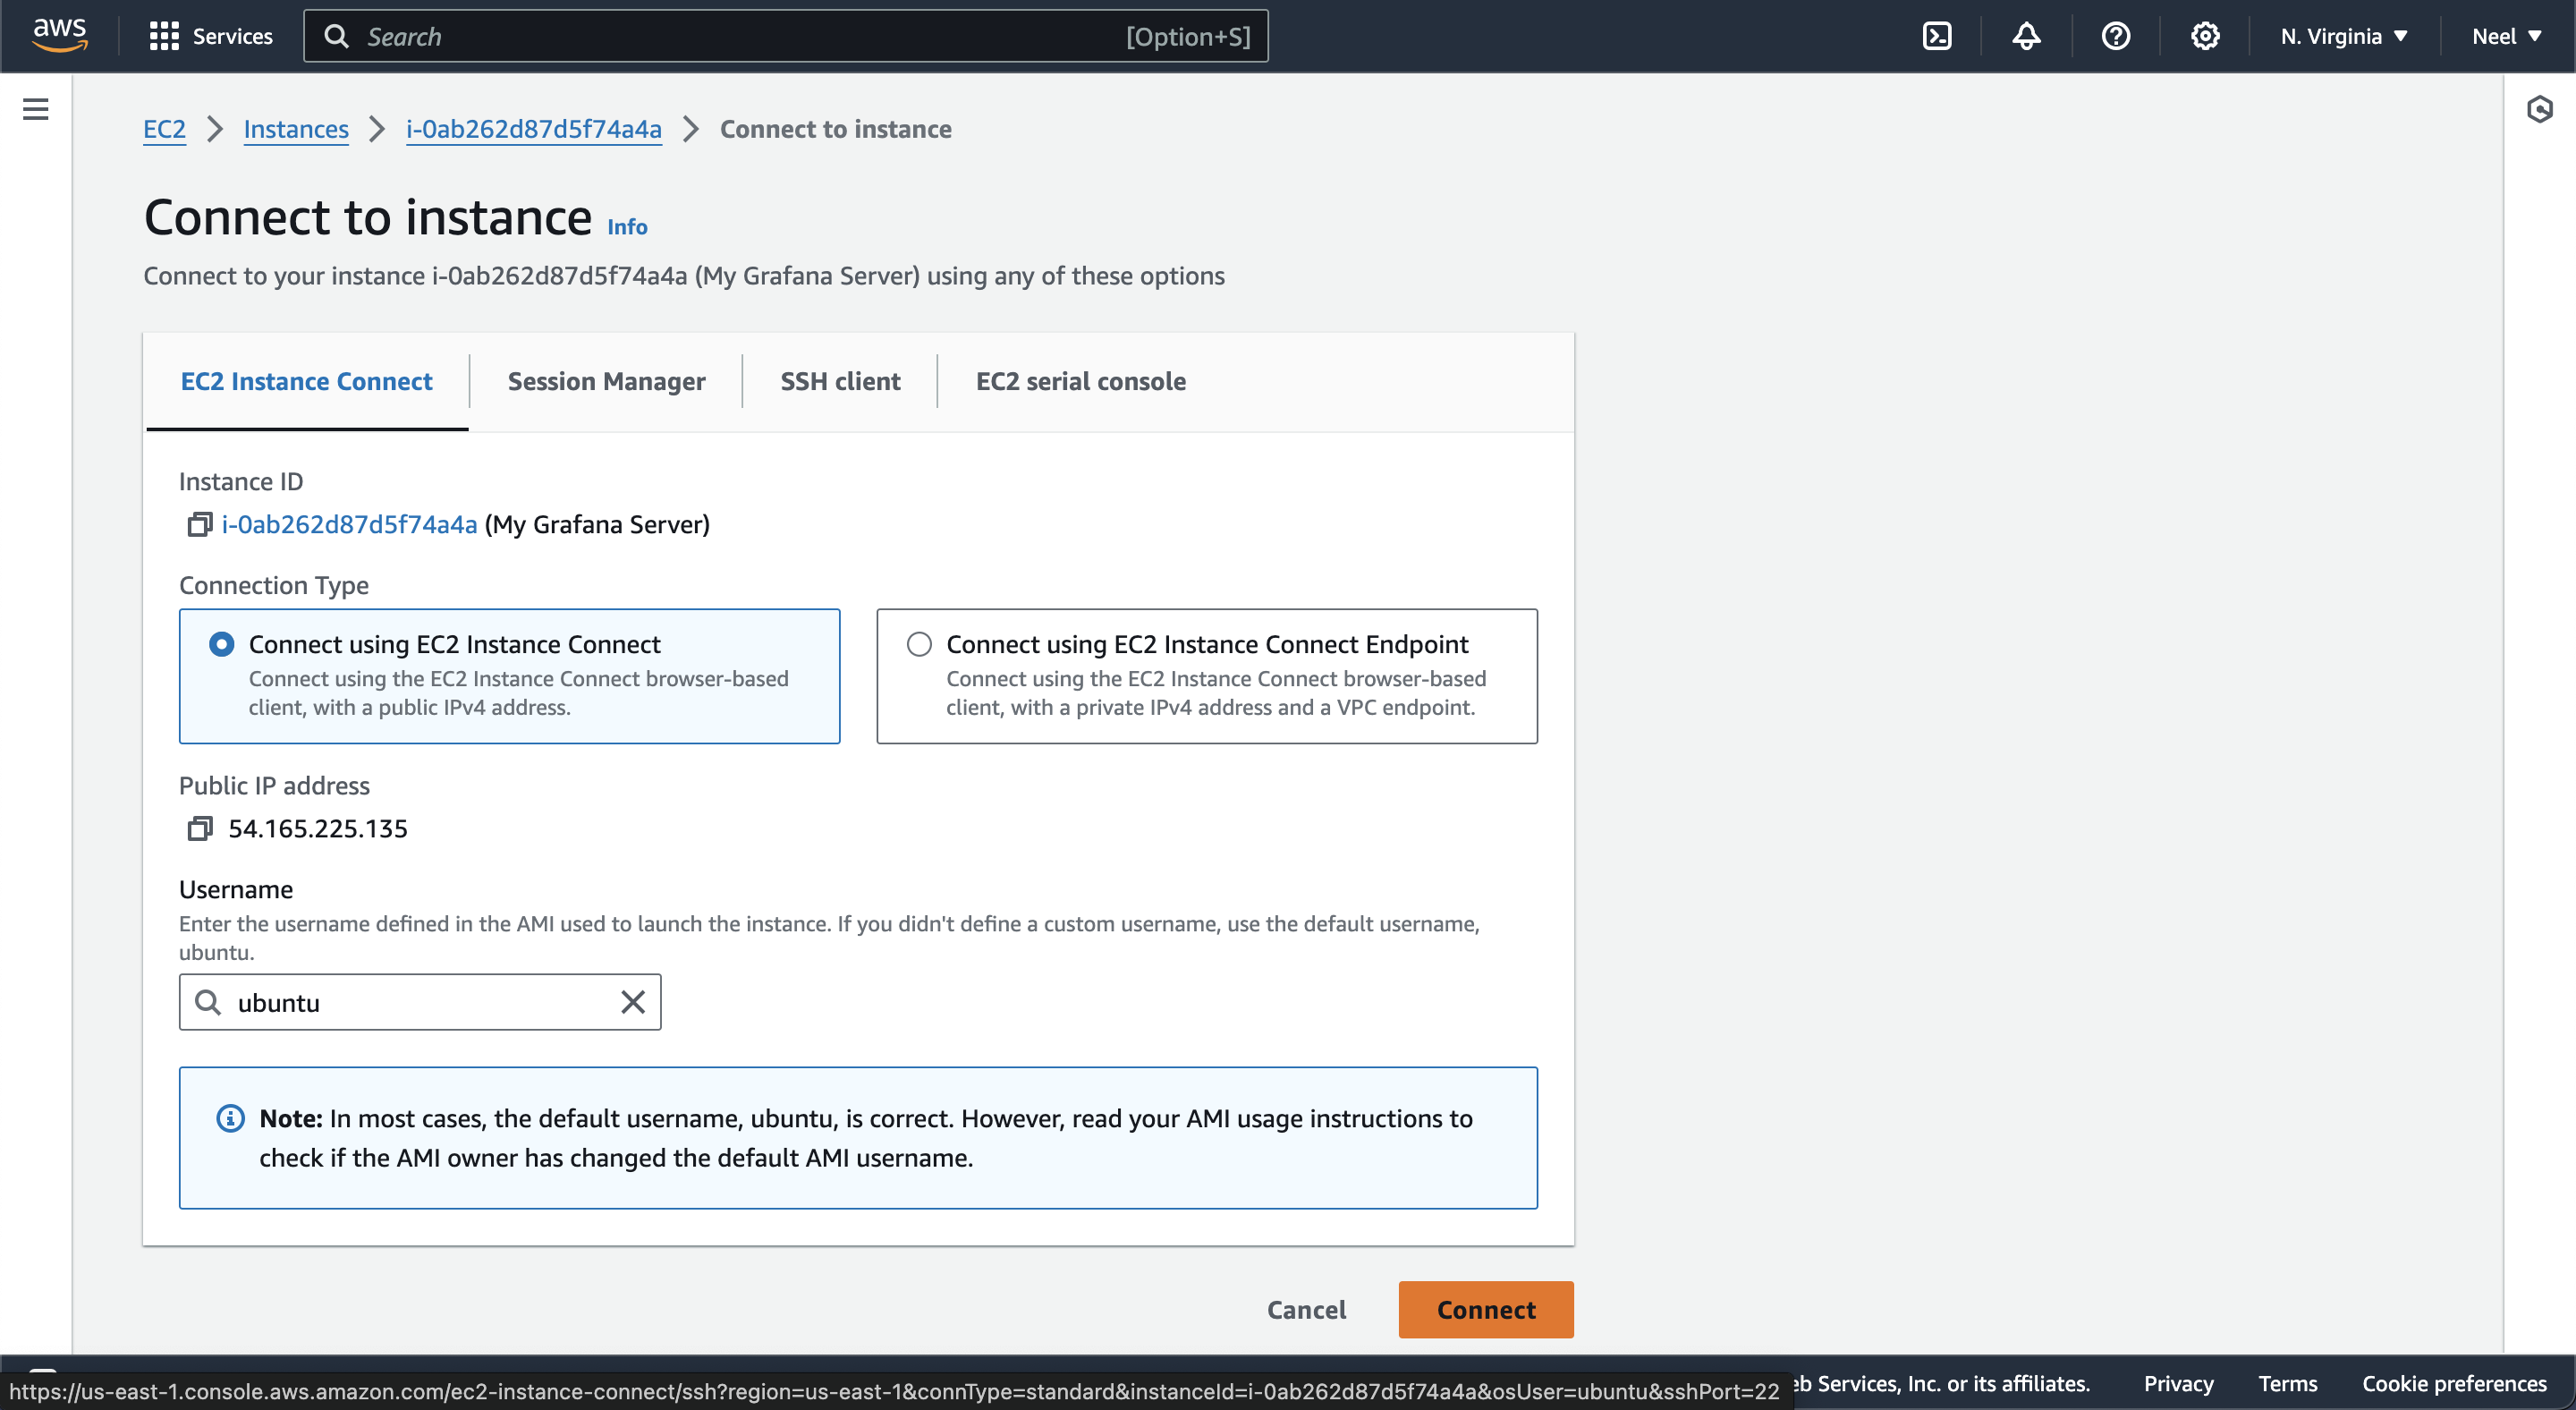
Step #1: Launch and connect to an EC2 instance
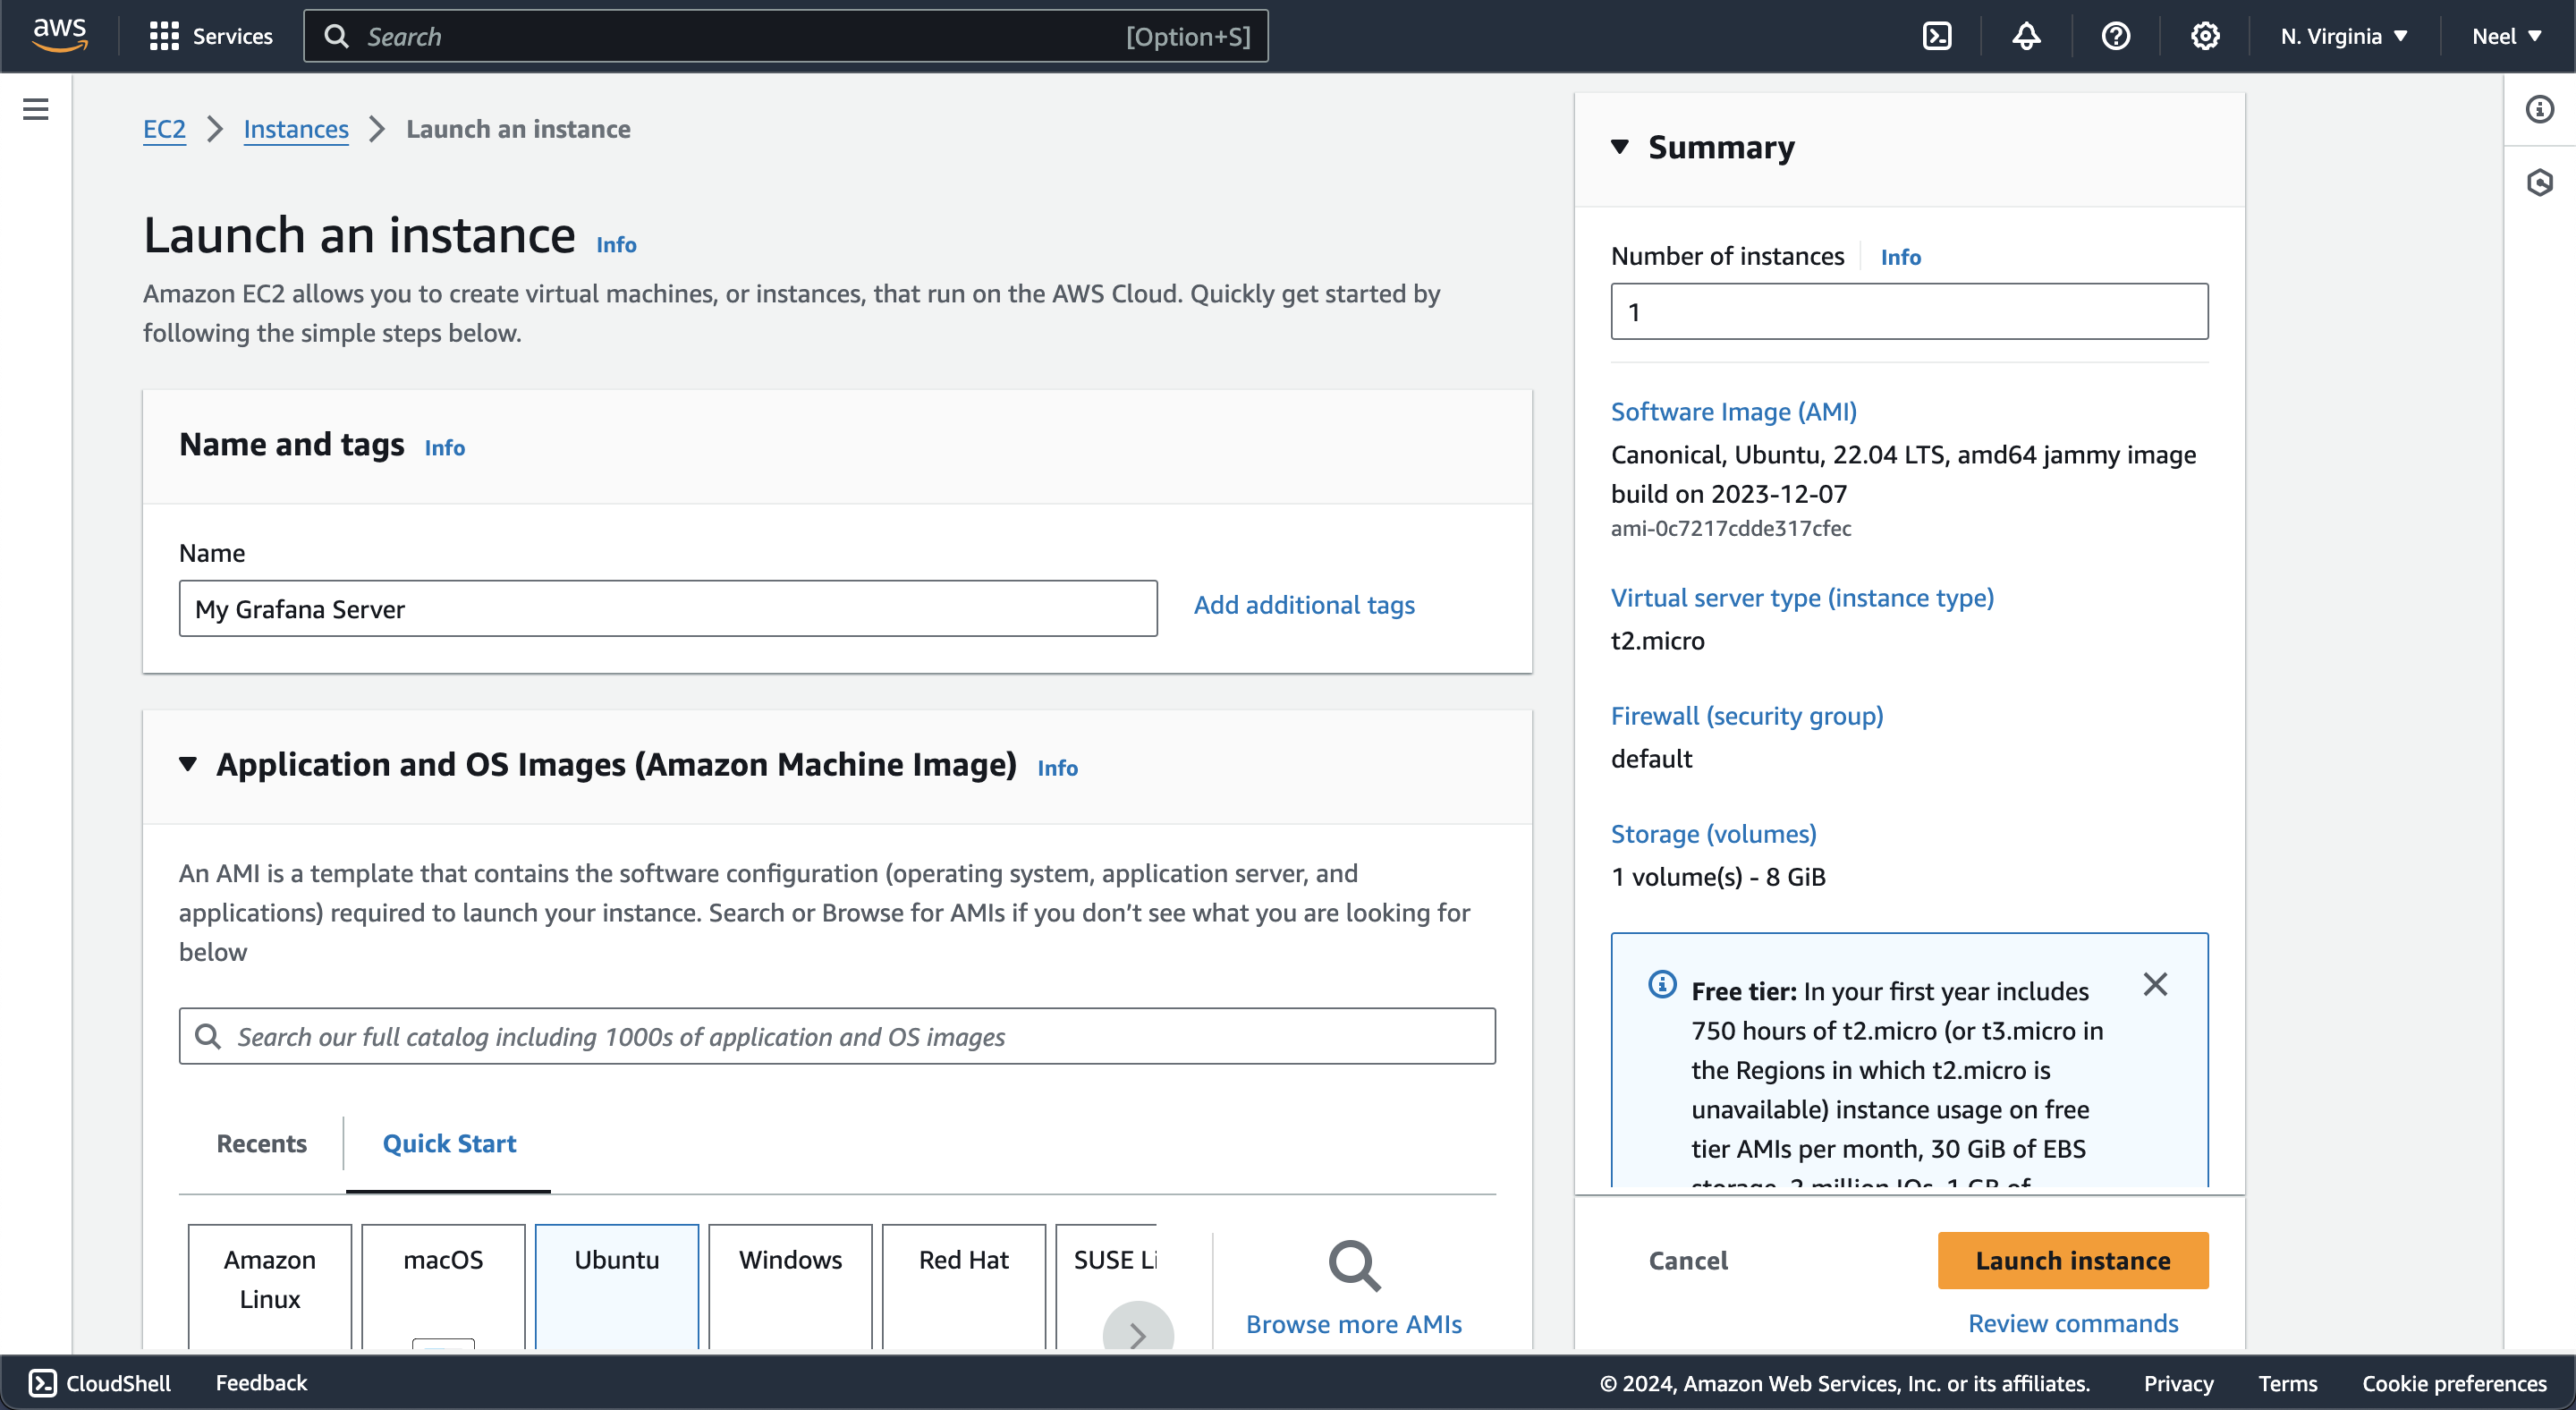
Wait for the running and status check complete.
After completing, connect to the instance.
Step #2: Install required tools
On the Debian and Ubuntu devices perform the below commands one by one.
sudo apt-get update
sudo apt-get install -y apt-transport-https
sudo apt-get install -y software-properties-common wget
sudo wget -q -O /usr/share/keyrings/grafana.key https://apt.grafana.com/gpg.key
First, it will update the system. Second, it will install apt-transport-https. Third, it will install software-properties-common and wget. Last, it will get the installation key for the Grafana tool.
Step #3: Add stable Grafana release to apt repository
echo "deb [signed-by=/usr/share/keyrings/grafana.key] https://apt.grafana.com stable main" | sudo tee -a /etc/apt/sources.list.d/grafana.list

sudo apt-get update #Update the system
Step #4: Install Grafana
sudo apt-get install grafana -y

Grafana is installed.
Start the Grafana:
sudo /bin/systemctl start grafana-server
You can enable the Grafana with the command:
sudo /bin/systemctl enable grafana-server
Check the status withthe command:
sudo /bin/systemctl status grafana-server

Step #5: Allow the port
As Grafana works on port number 3000; in the security group, add 3000 in the inbound rule. For the safety purpose, I enabled it for my IP only. If you want you can open it for everywhere(0.0.0.0/0).

Step #6: Access Grafana portal
Copy the IP address of your instance and add :3000 then paste the address into your browser to access the portal of Grafana.

http://44.204.192.144:3000
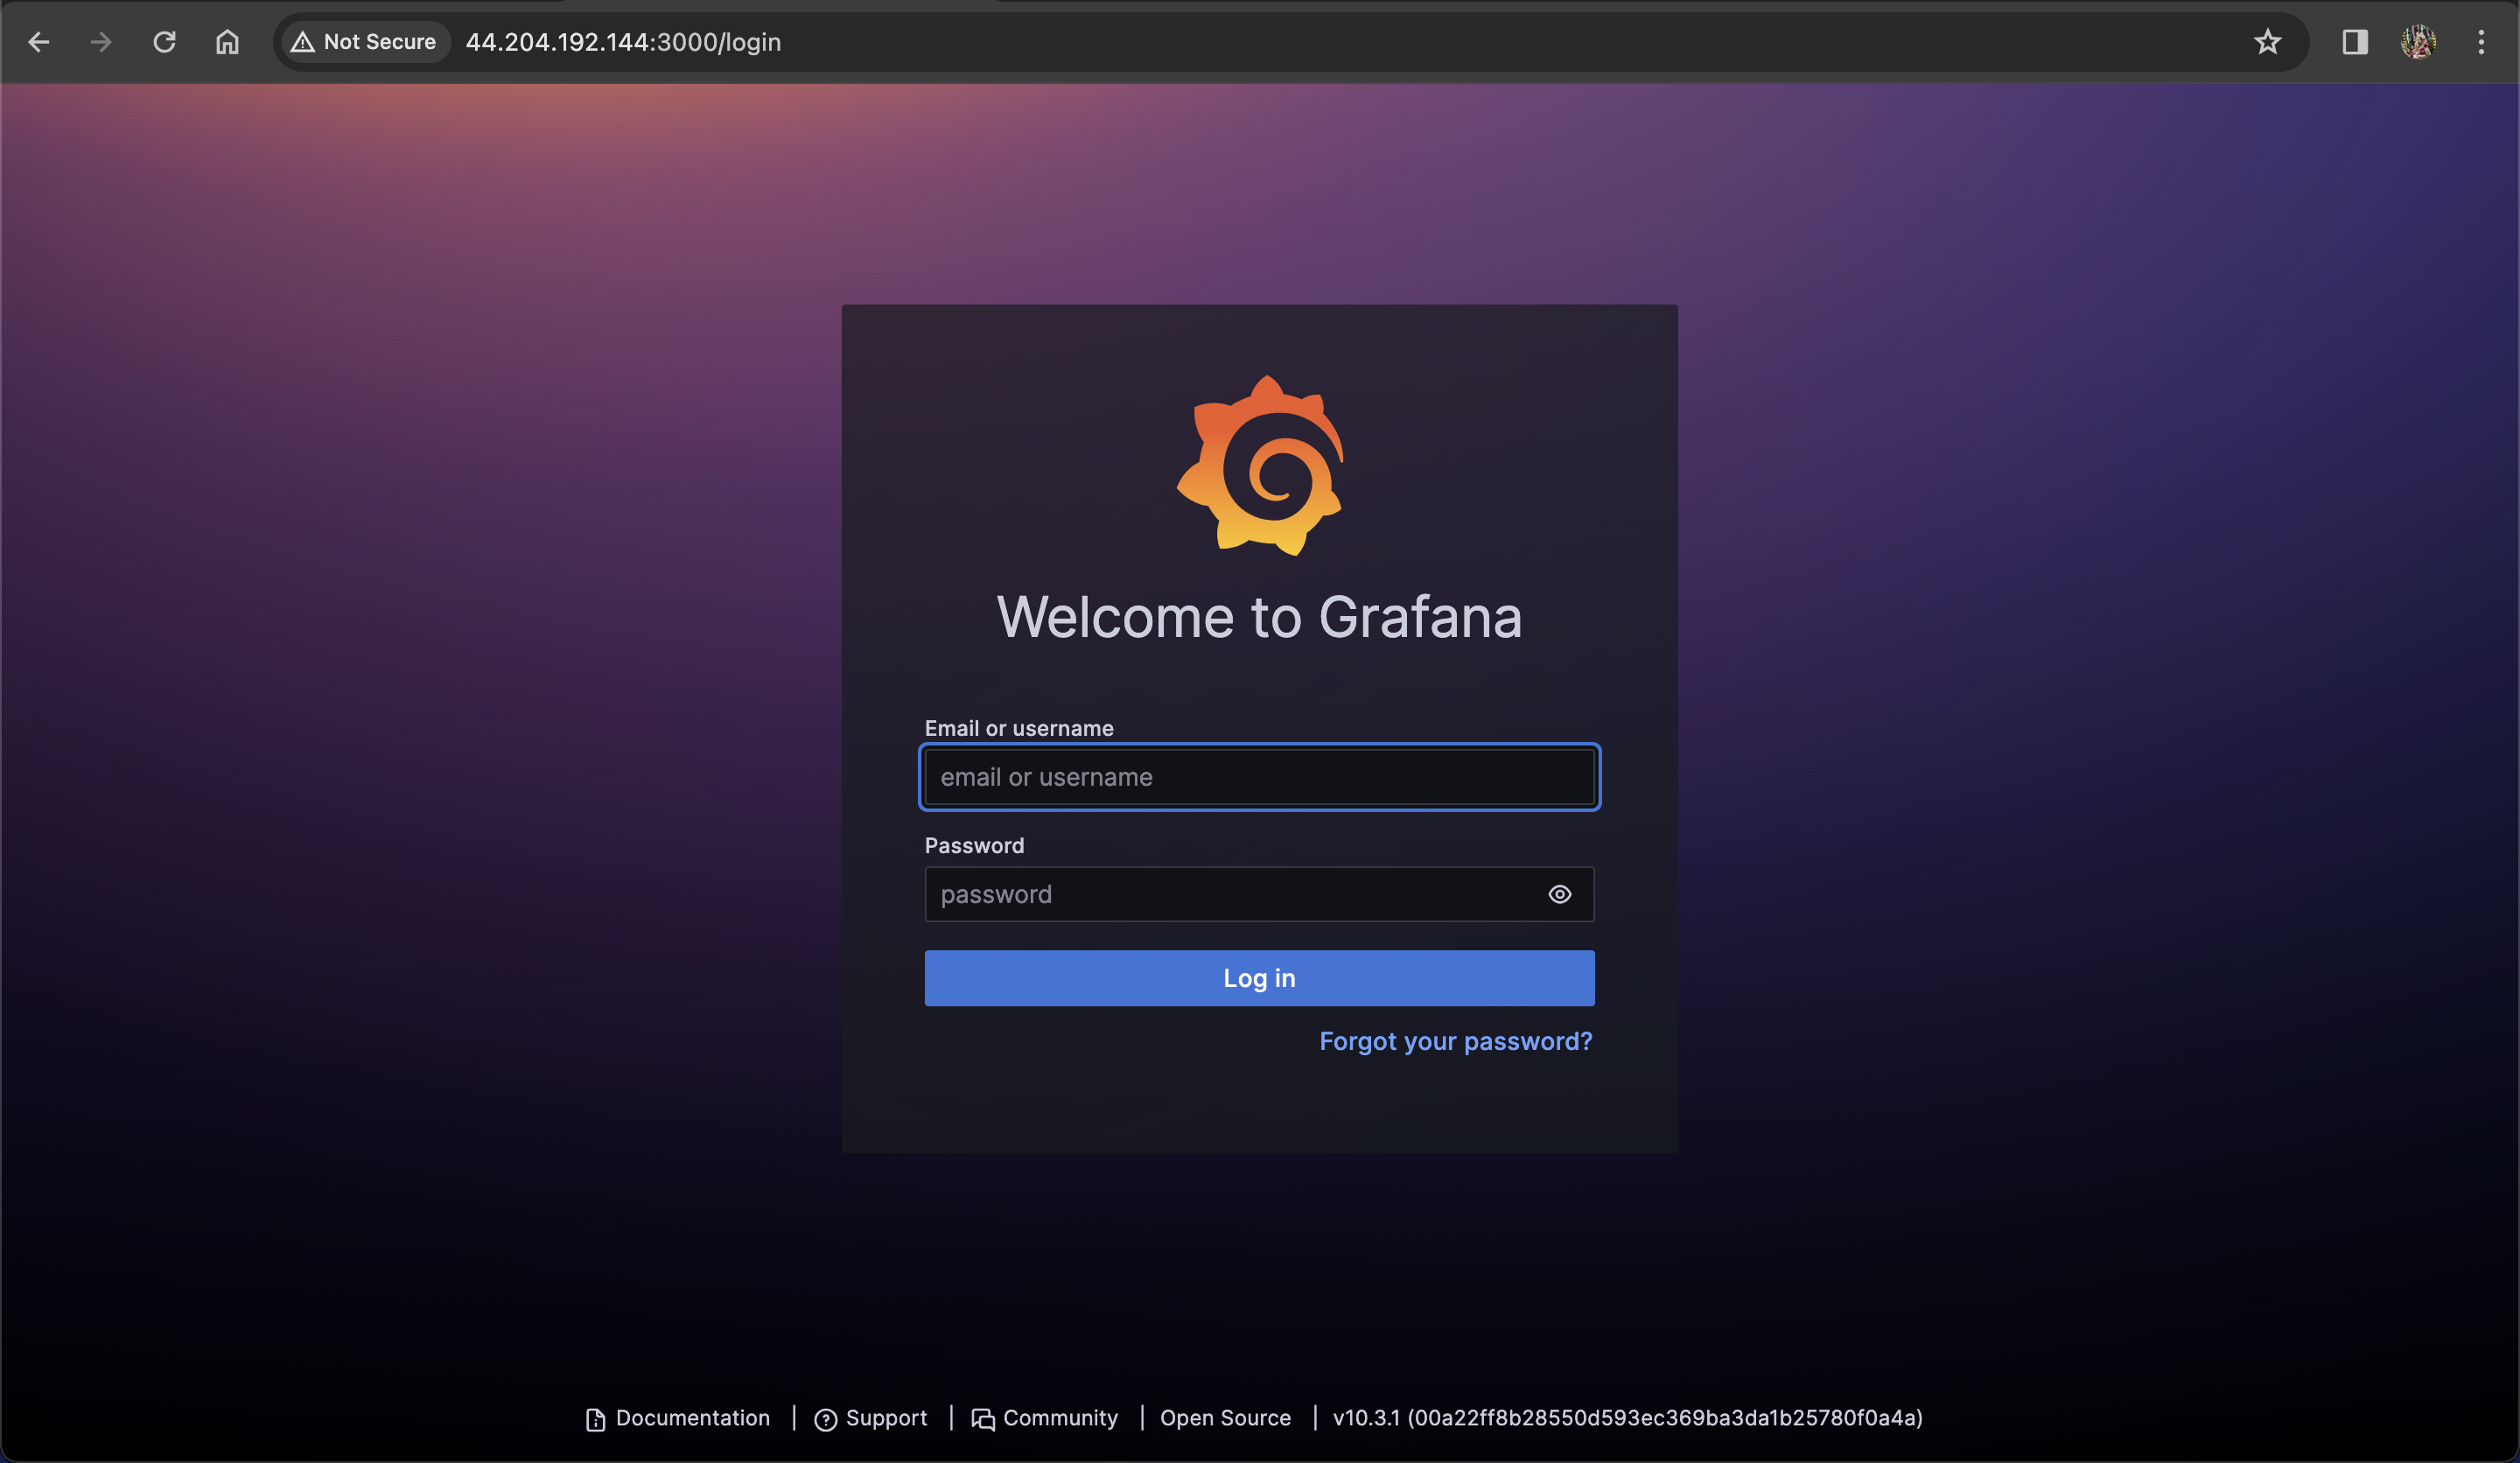
By default the username and password are set as admin and admin respectively. Enter it and click on log in button.
Next, it will ask you to change the default password for safety purpose.

You will be redirected to the dashboard and that’s it. You have completely installed the Grafana on your system.

Thank you for reading! If you find it helpfull then kindly like and share the blog.


