Test Knowledge on AWS 💻 📈

Day 47 of #90DaysOfDevOps
Task-01
Launch an EC2 instance using the AWS Management Console and connect to it using SSH.
Install a web server on the EC2 instance and deploy a simple web application.
Monitor the EC2 instance using Amazon CloudWatch and troubleshoot any issues that arise.
Task-02
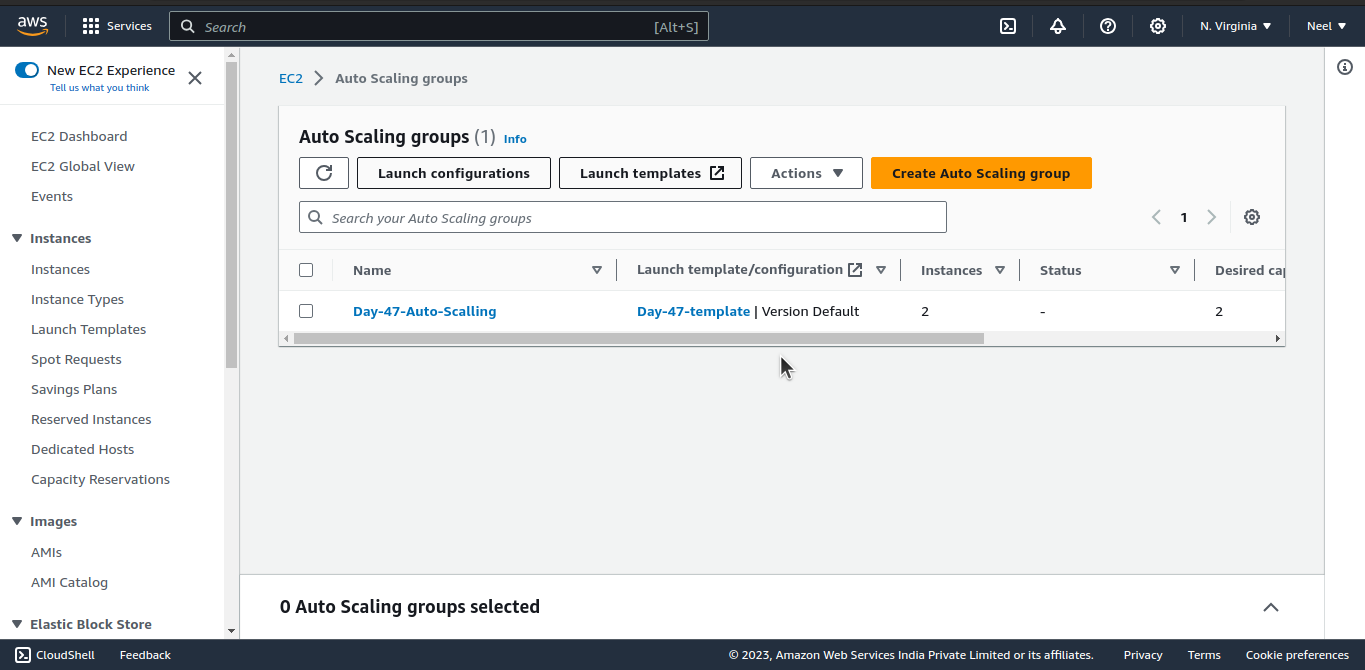
Create an Auto Scaling group using the AWS Management Console and configure it to launch EC2 instances in response to changes in demand.
Use Amazon CloudWatch to monitor the performance of the Auto Scaling group and the EC2 instances and troubleshoot any issues that arise.
Use the AWS CLI to view the state of the Auto Scaling group and the EC2 instances and verify that the correct number of instances are running.
Launch an EC2 instance using the AWS Management Console and connect to it using SSH
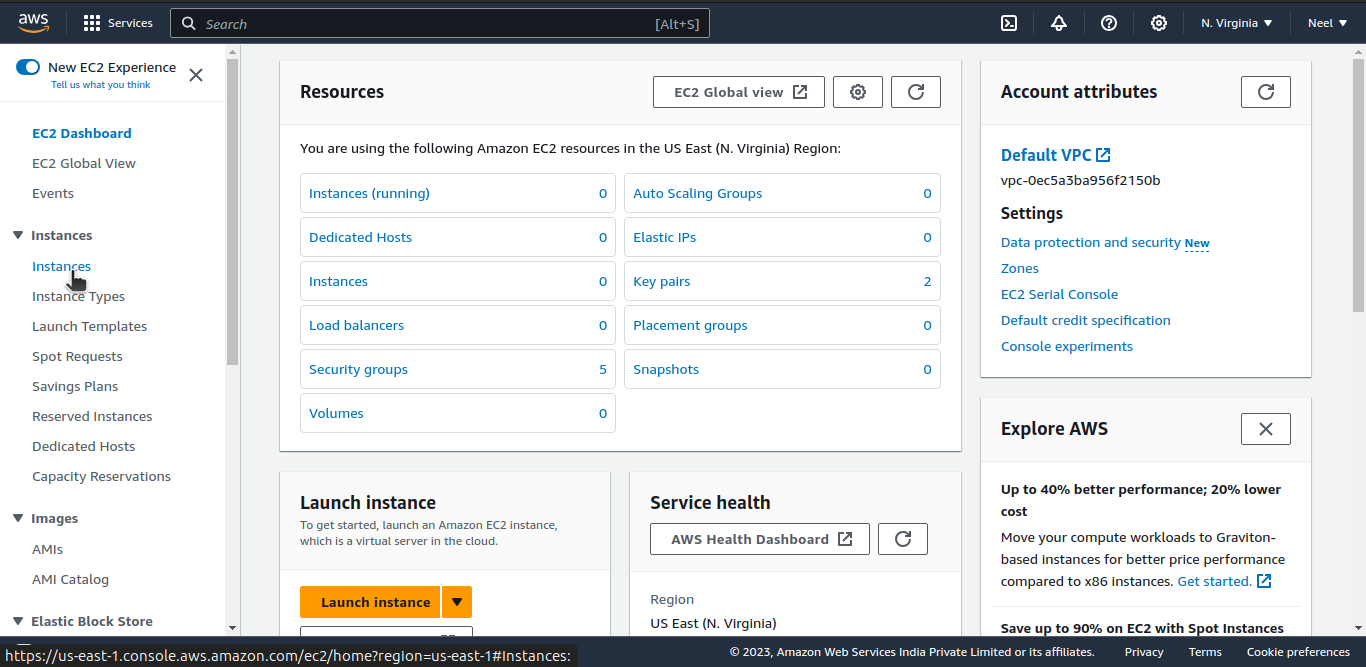
Search for EC2 in the AWS management console and open the EC2 dashboard.
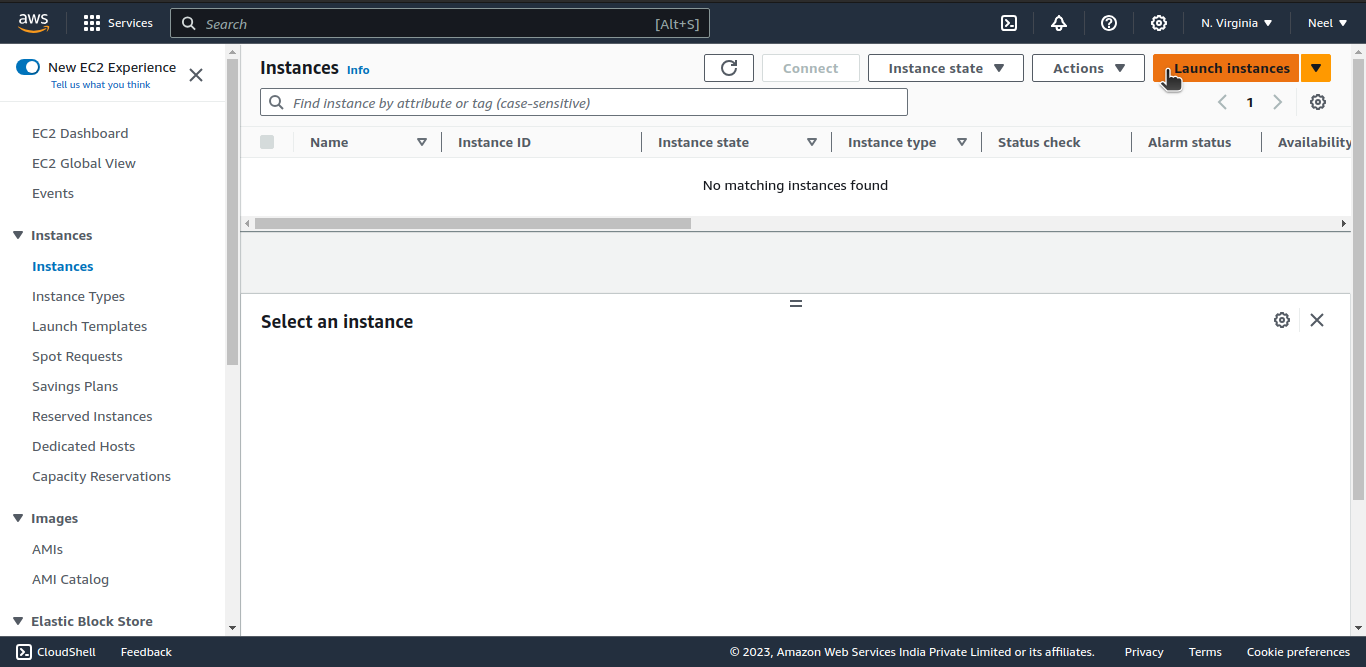
Click on instances and launch instance.
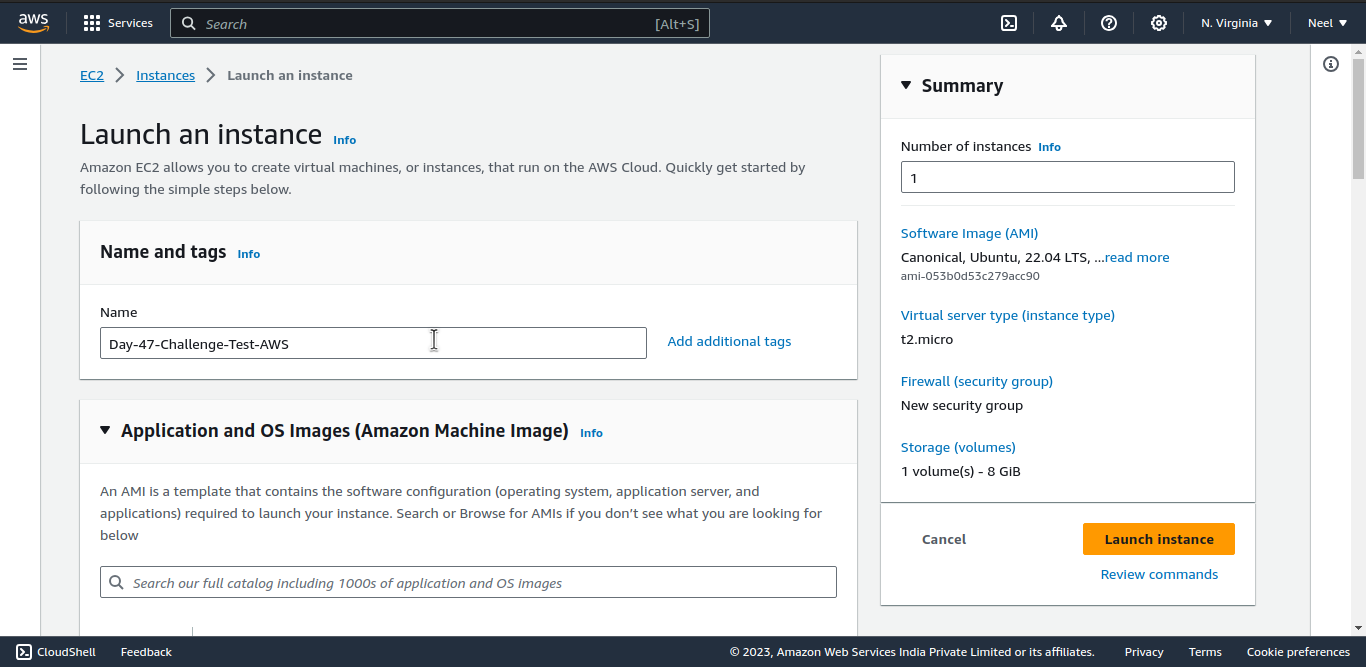
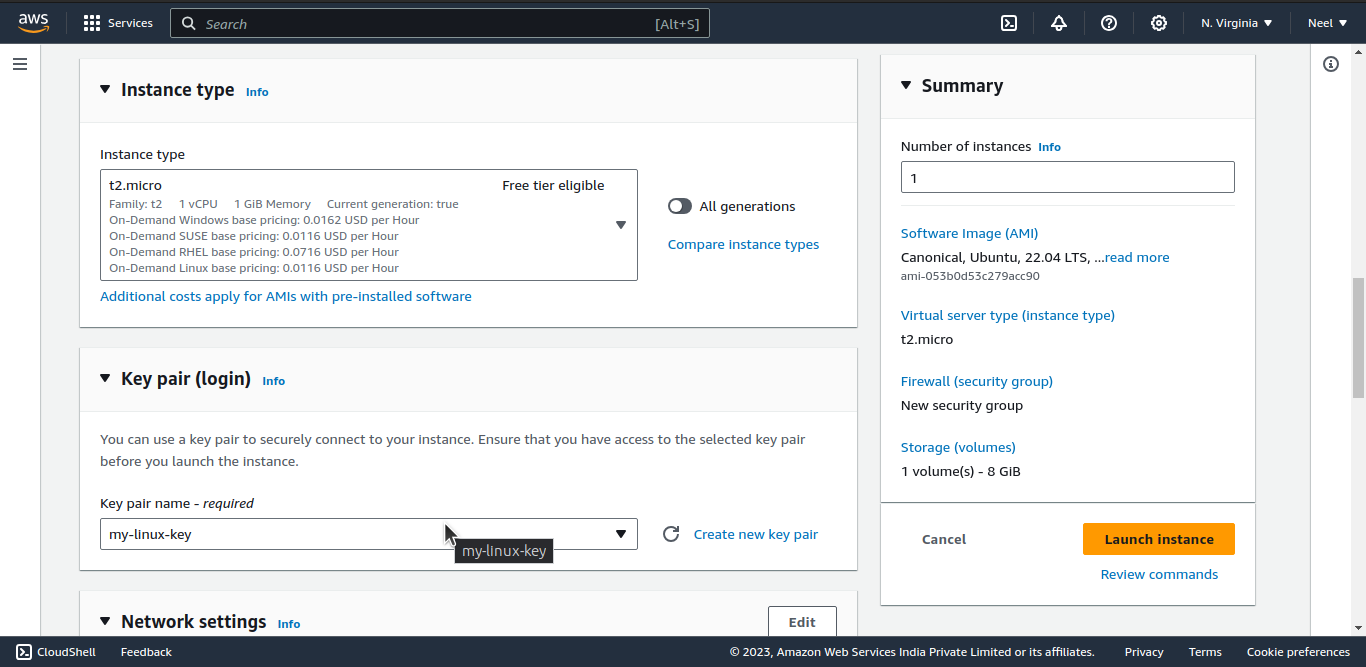
Enter name, Select Application and OS Images (Amazon Machine Image), Instance type, Key pair (login).

In the Network Settings, select Create security group and Allow SSH traffic.

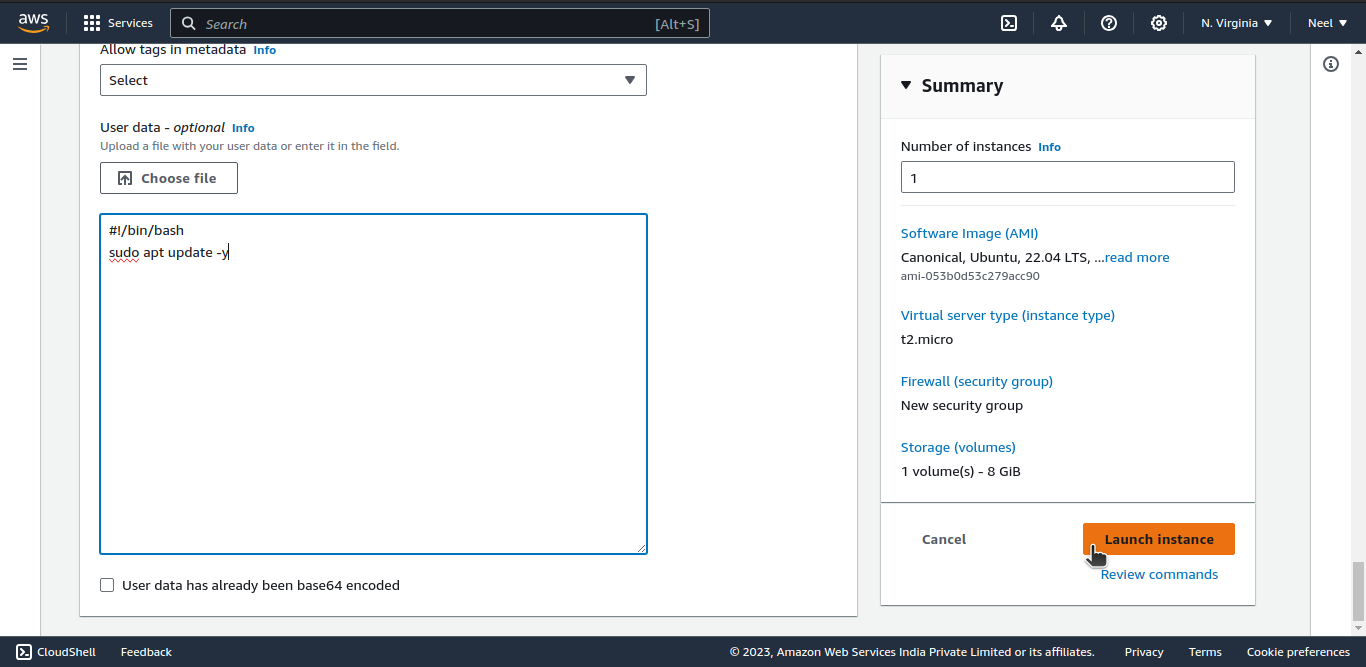
At the bottom, enter user data to update the instance and click on Launch instance.
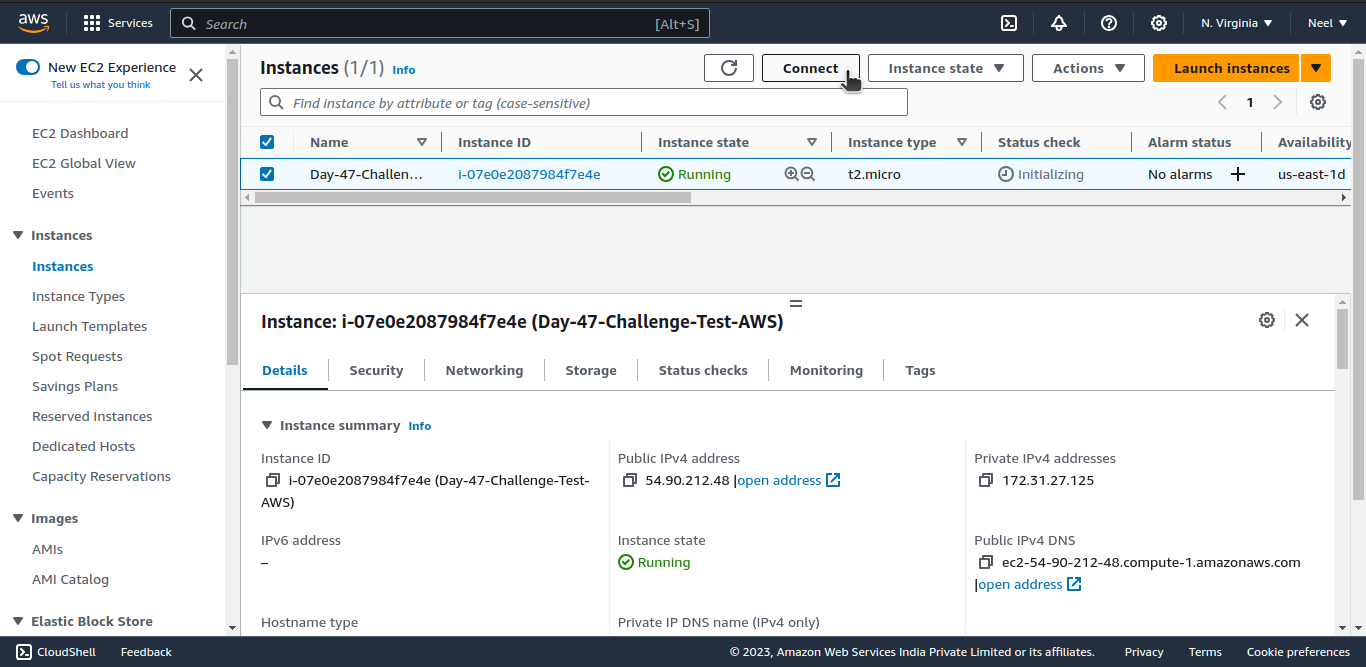
Next, to connect the instance with SSH, select the instance and click on connect.
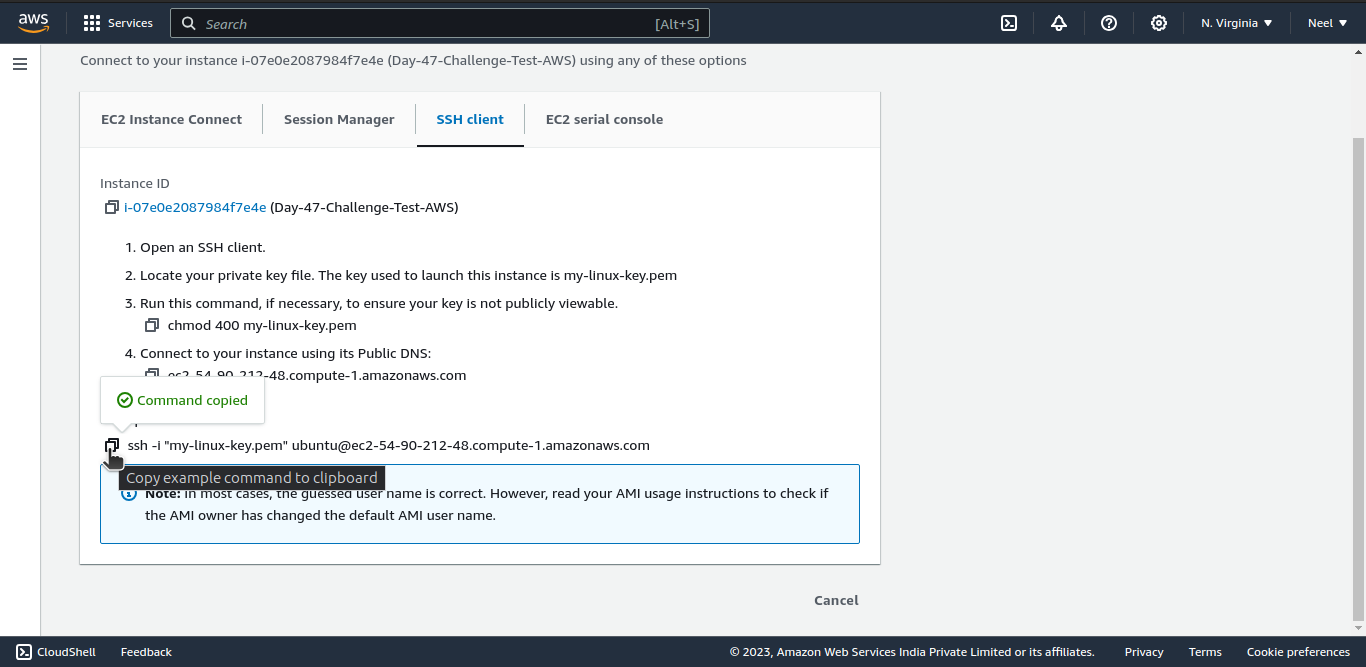
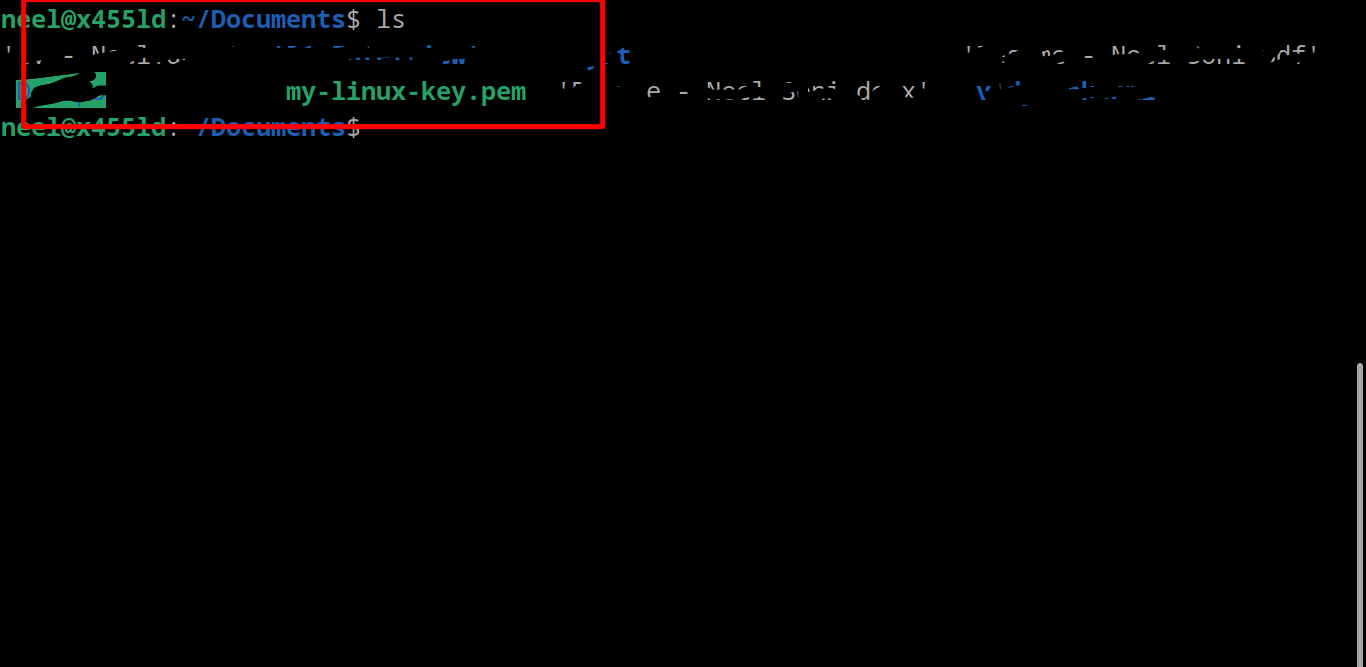
Locate and change the directory to the login key and then copy the SSH command and paste it into the local terminal.
Install a web server on the EC2 instance and deploy a simple web application.
- To install a web server, write the following command:
sudo apt install apache2 -y && sudo systemctl start apache2 && sudo systemctl enable apache2
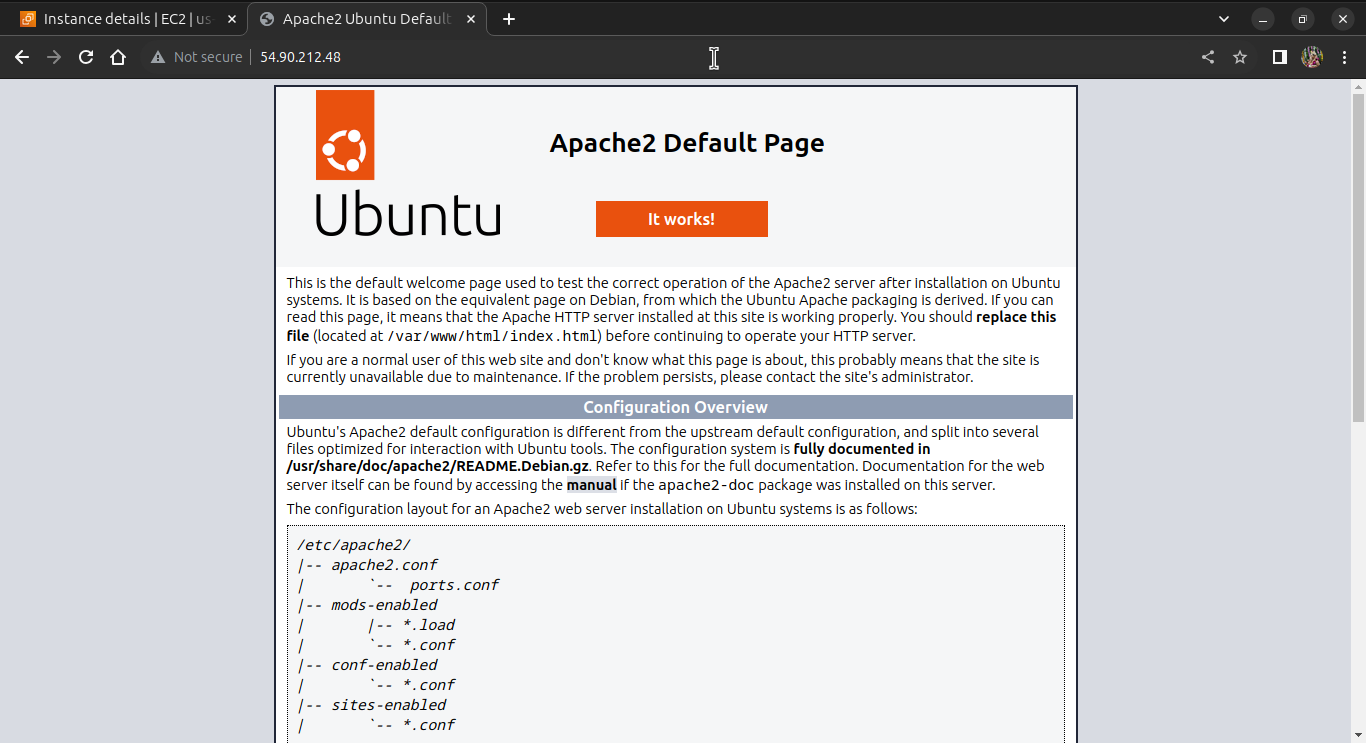
That's it. The server is installed, up and running. visit the IP address to check.
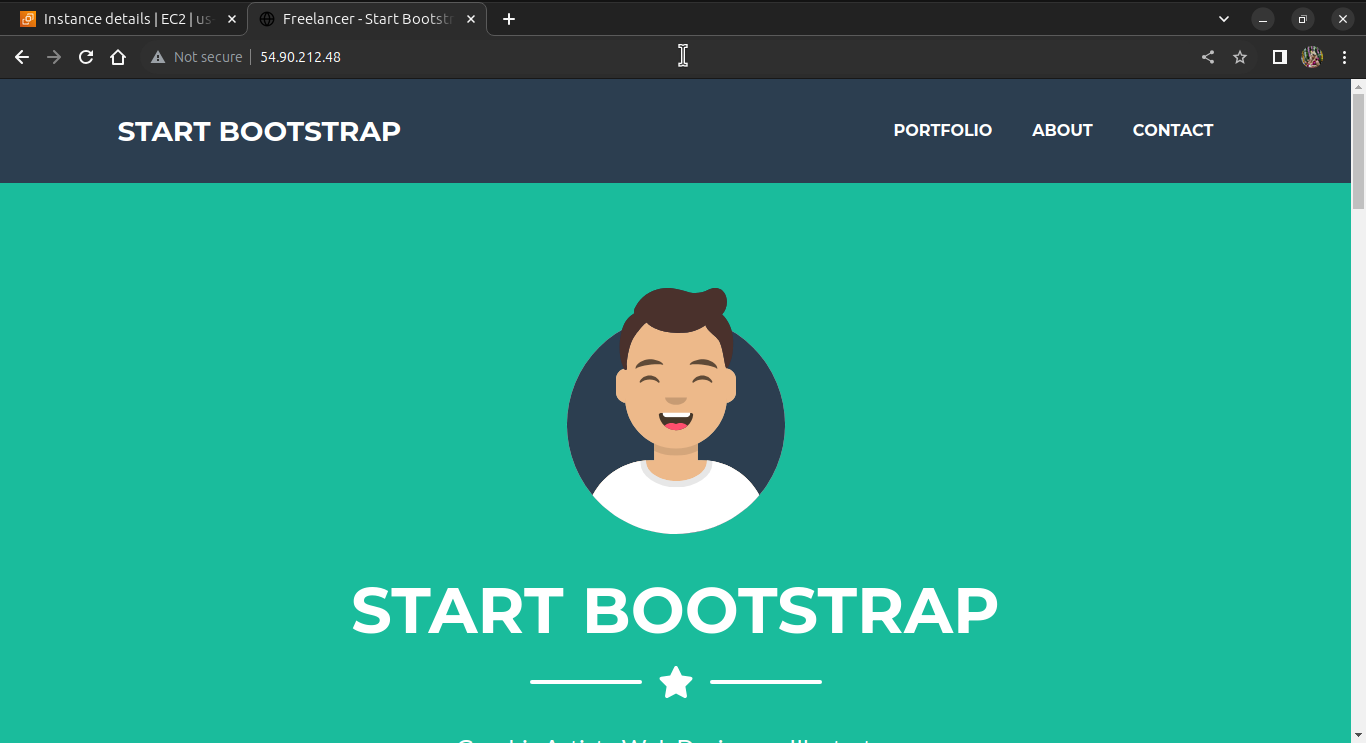
Now, to deploy a web application, find and upload file data to the Ubuntu instance. If you don't find anything then download a Bootstrap template and upload it to the /var/www/html/ directory of the Ubuntu instance. Follow the below steps for a guide.
First, download a template on the EC2 instance with the wget command.
wget https://github.com/startbootstrap/startbootstrap-freelancer/archive/gh-pages.zipSecond, to unzip the zip file, install the unzip tool.
sudo apt install unzip -yThird, unzip the zip file to the current destination
unzip gh-pages.zipThen, write the command to copy all the files to the /var/www/html folder.
sudo cp -r startbootstrap-freelancer-gh-pages/* /var/www/html/Done. Now again visit the IP address from your computer's browser, and you will find the new website.
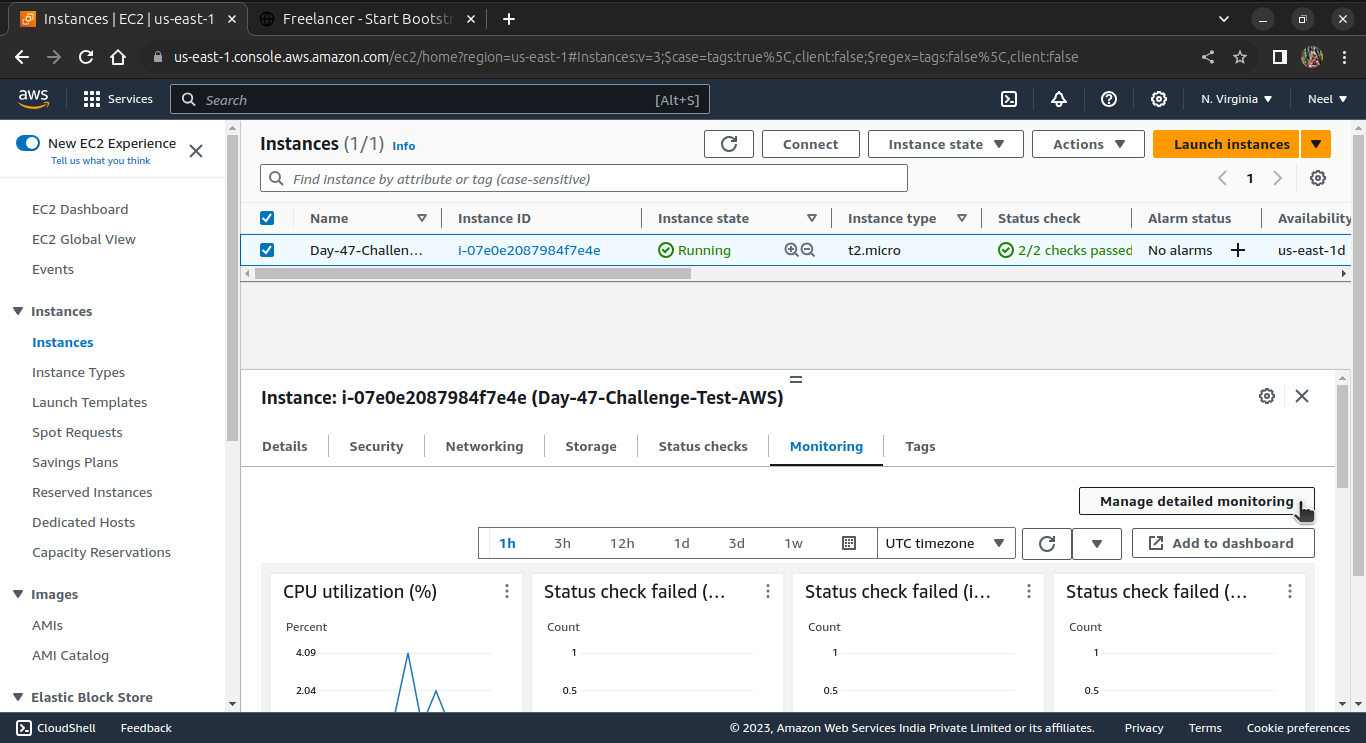
Monitor the EC2 instance using Amazon CloudWatch and troubleshoot any issues that arise
Select the instance and go to the monitoring tab.
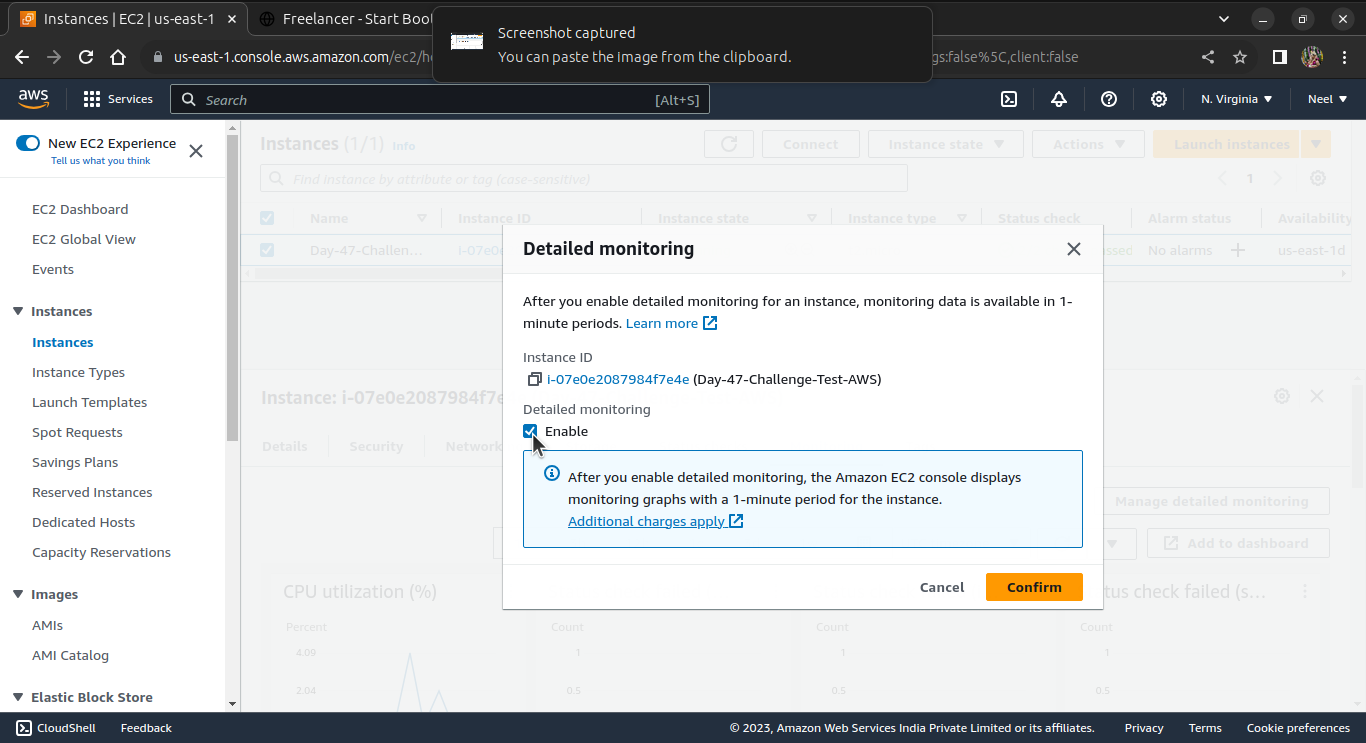
Click on manage detailed monitoring.
Click on enable and confirm.
Now, search and go to the CloudWatch.
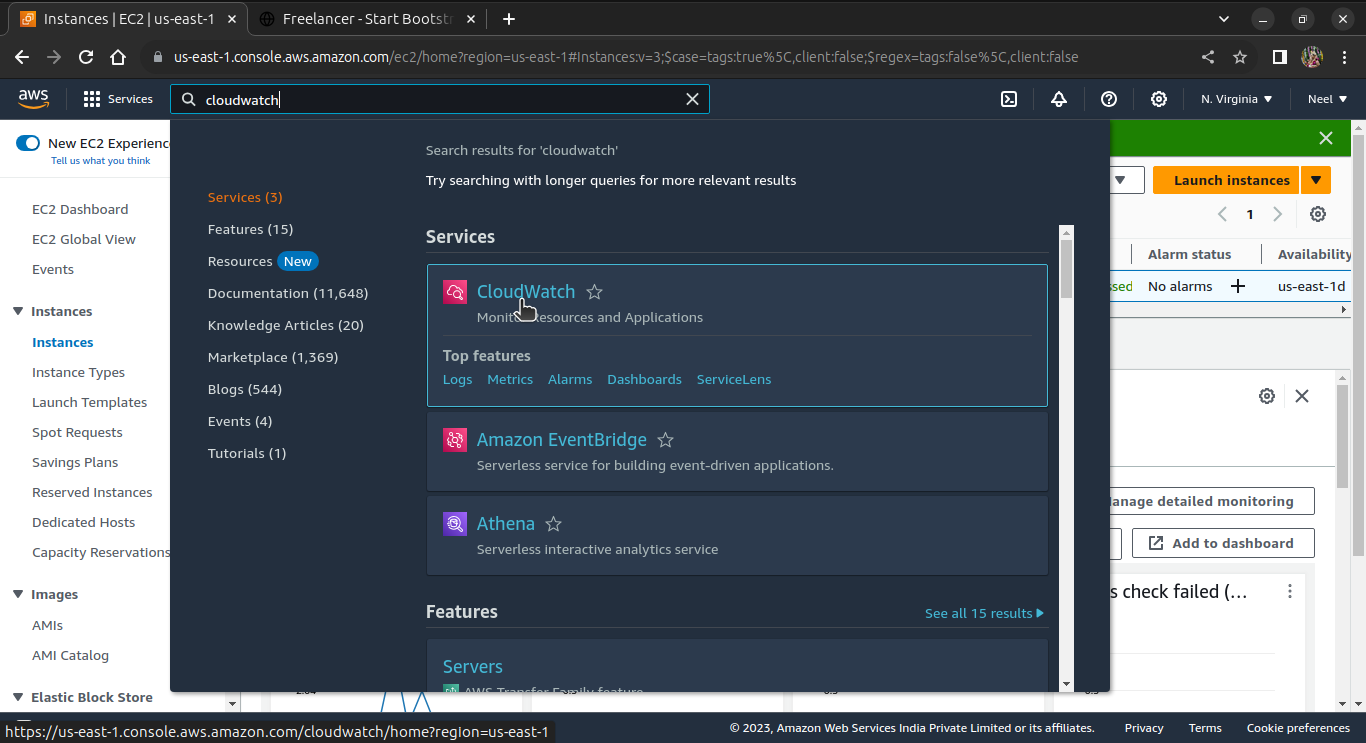
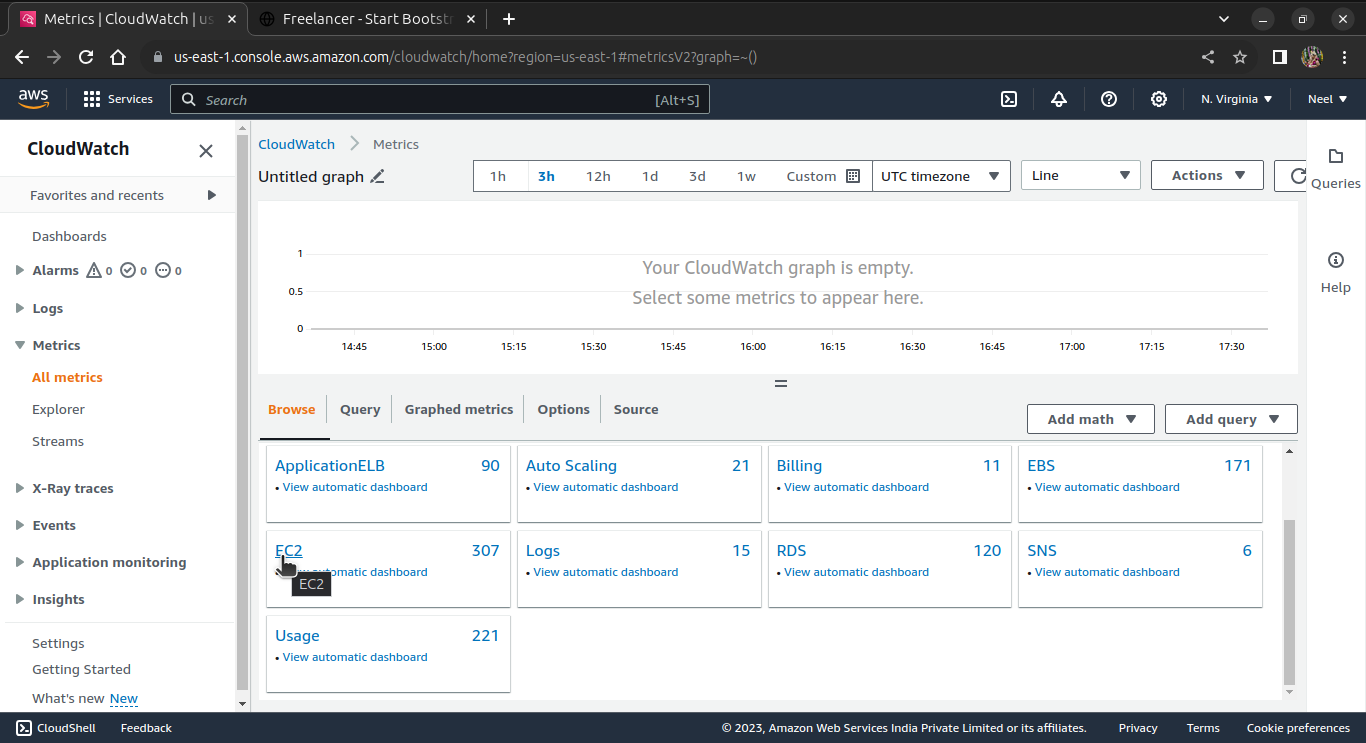
Then go to All metrics.
Next select EC2
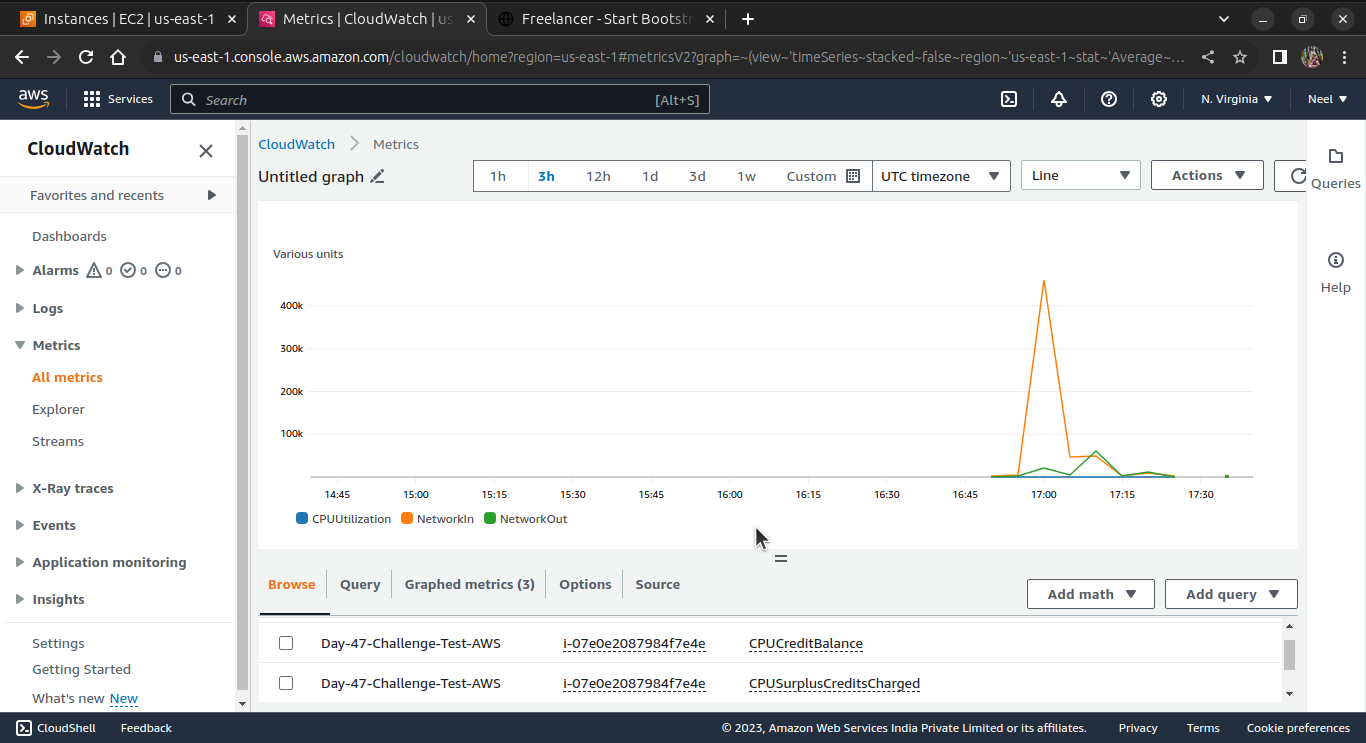
Click on Pre-instance metrics.

Search the instance and select the services you want to monitor such as CPU usage, memory usage, disk I/O, or network traffic.

Drag down the option to enlarge the graph for monitoring.
Create an Auto Scaling group using the AWS Management Console and configure it to launch EC2 instances in response to changes in demand
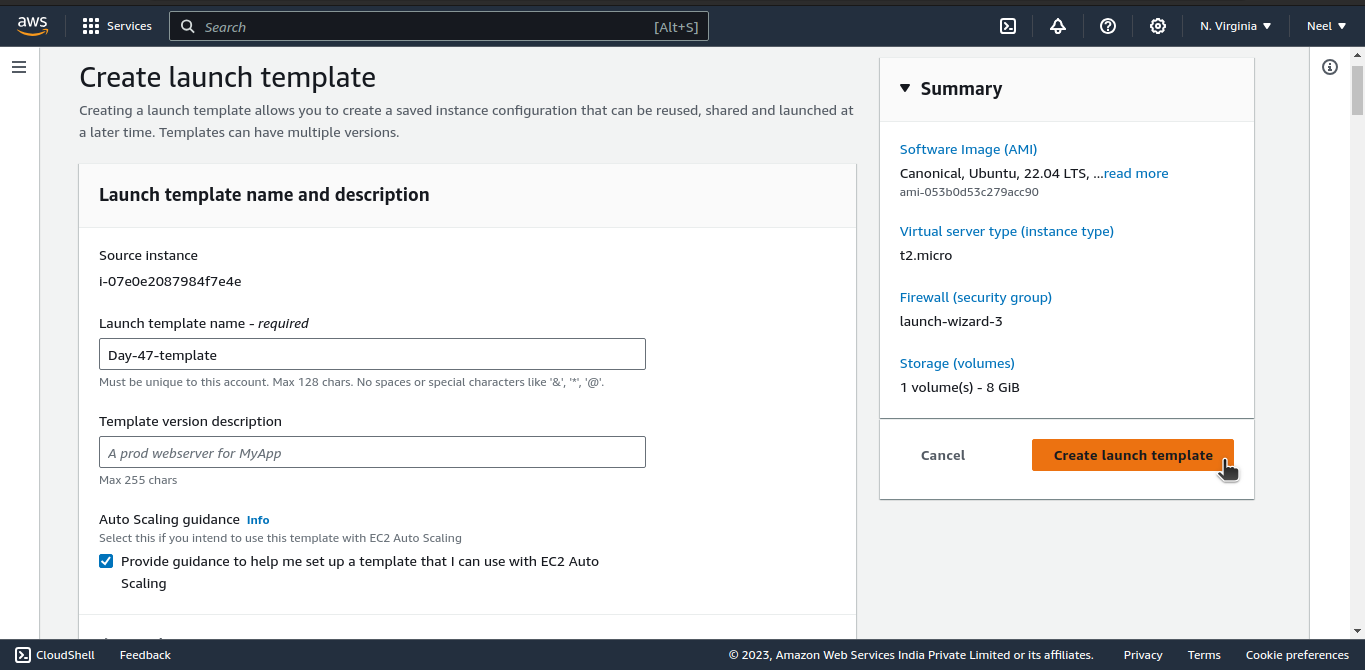
Select instance > Actions > images and template > Create template from instance.
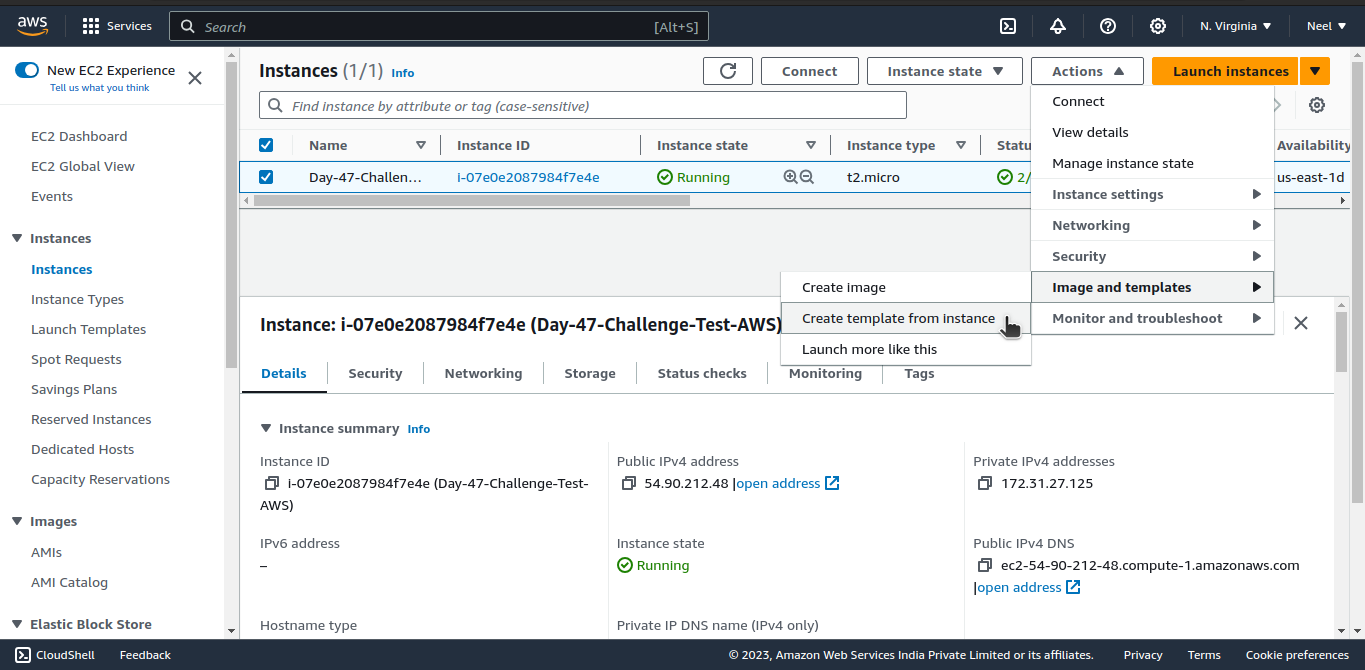
Enter name and create template.
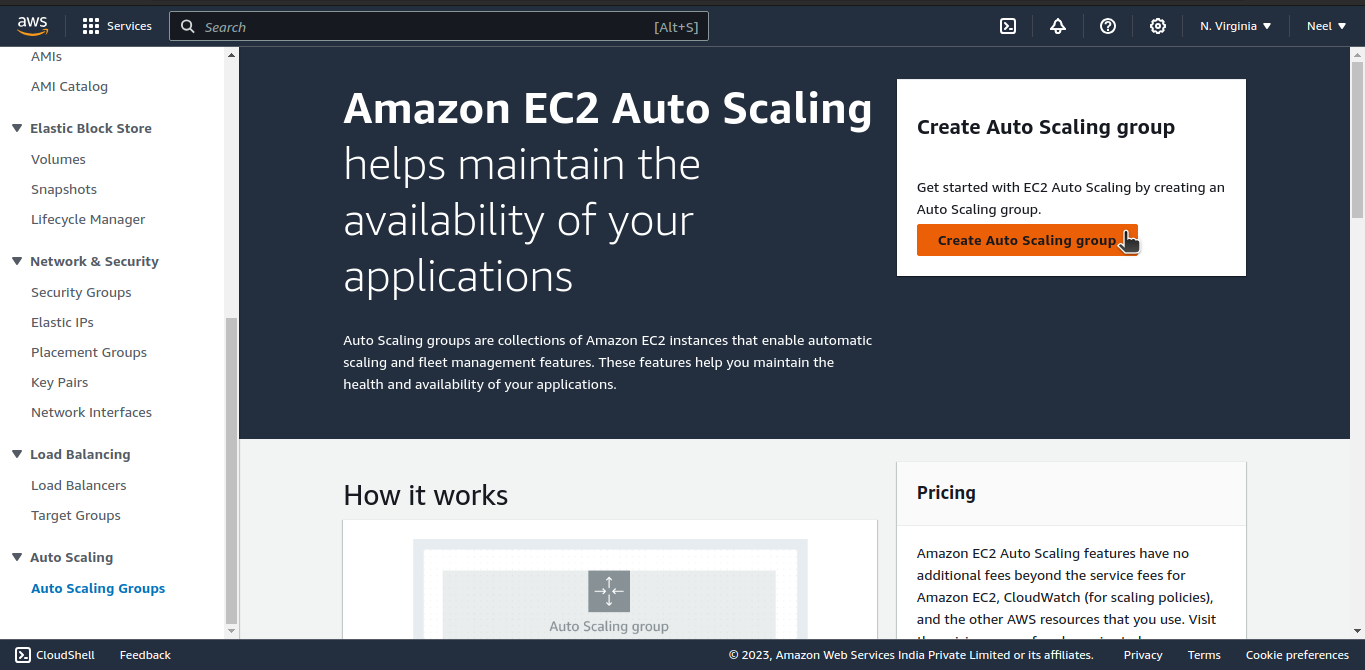
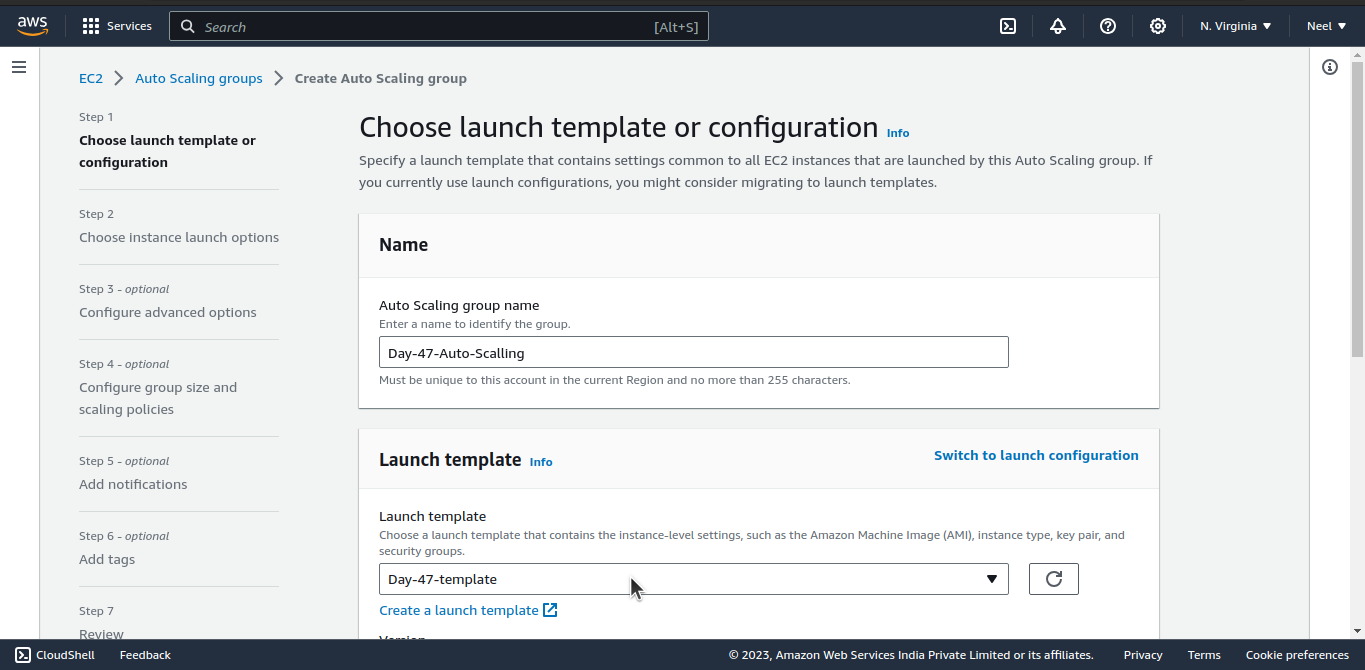
Next, go to Auto Scalling and Create auto scalling.
Enter name and select template that you have just created.
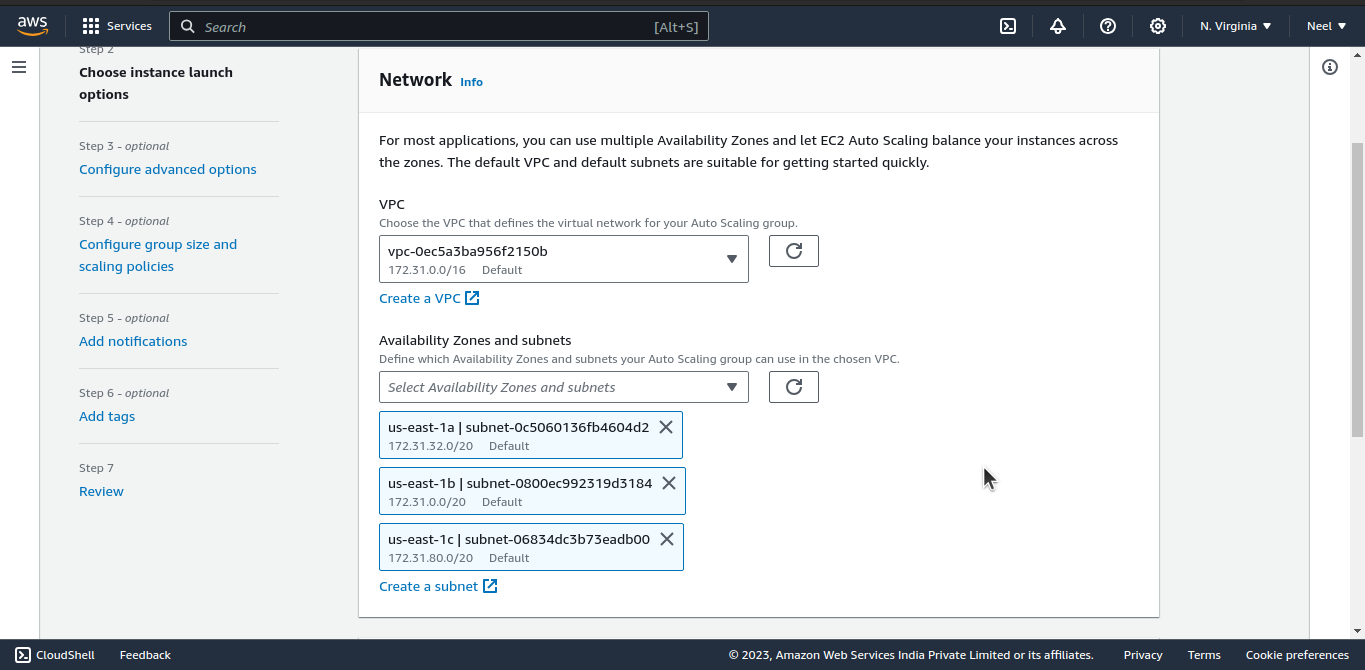
In the Network, select multiple subnets. Click Next.
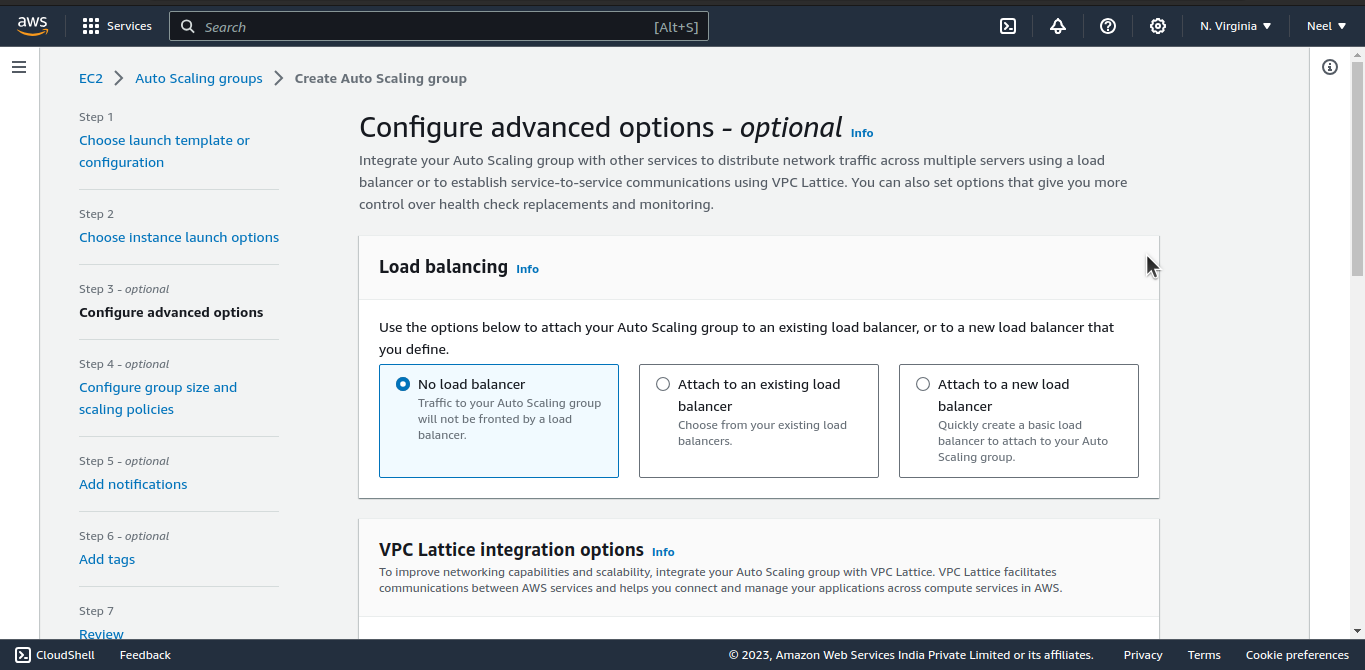
Select No load balancer. Click next.
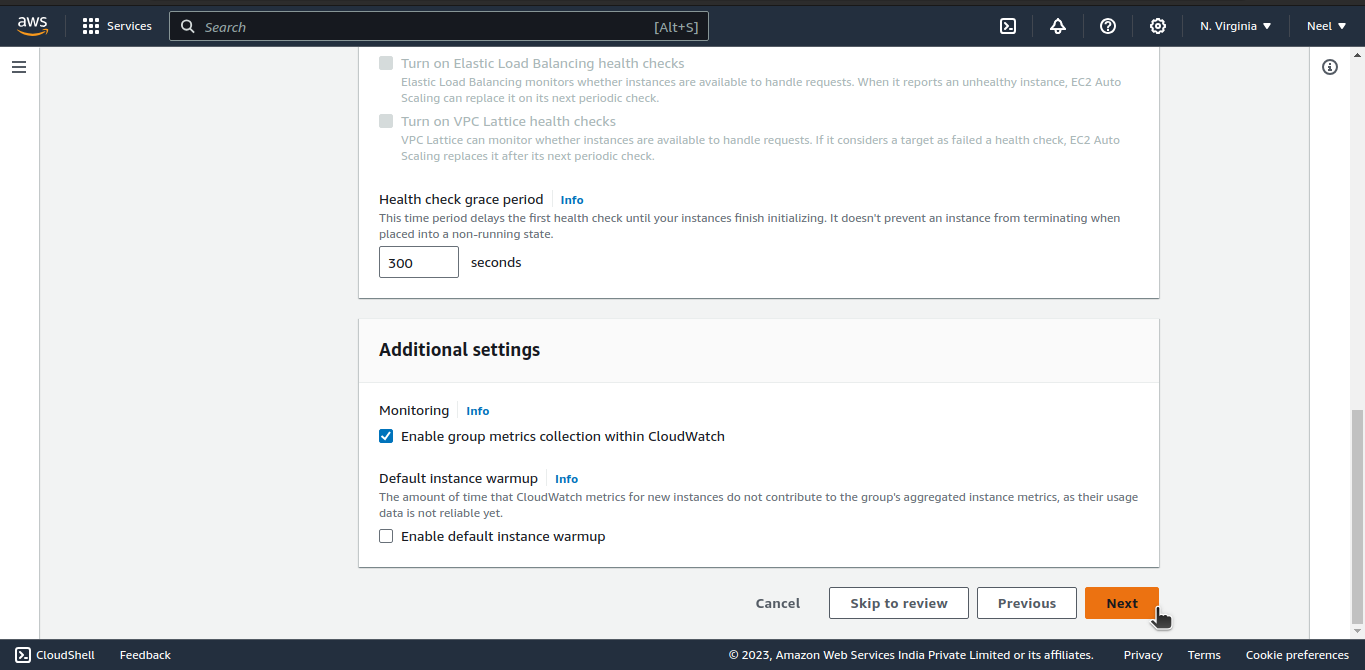
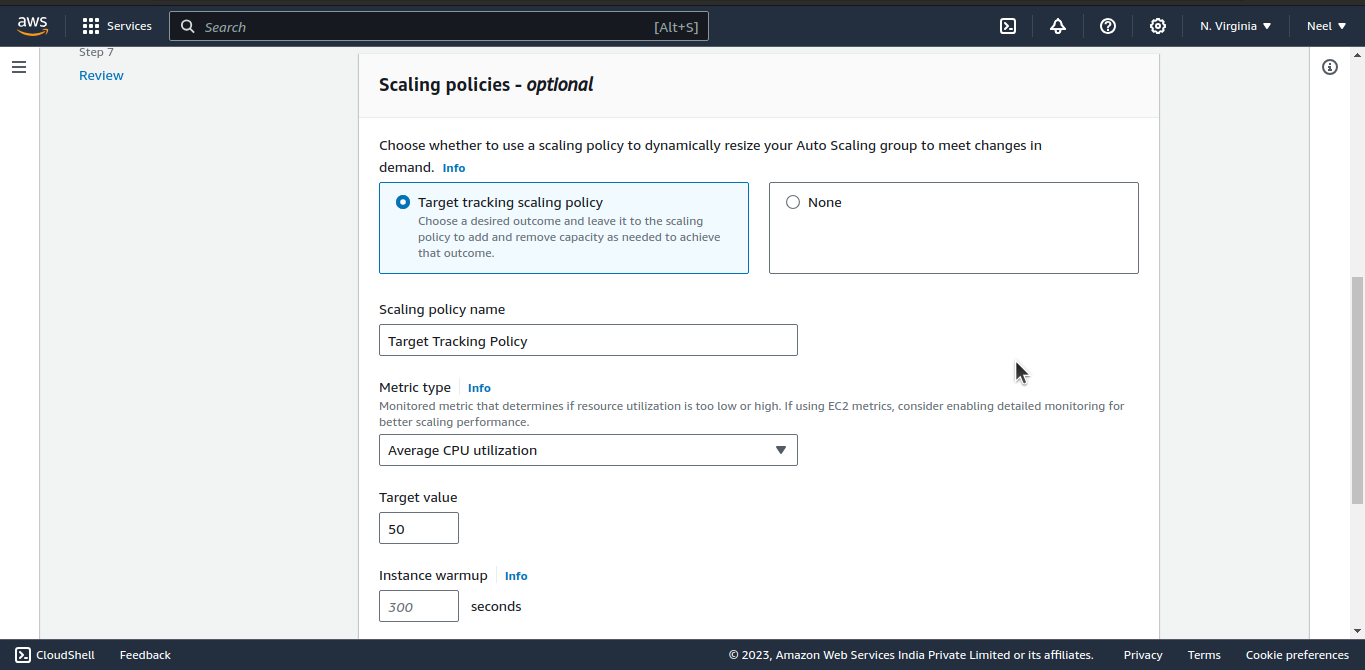
Configure group size and scaling policies.

Click Create Auto Scaling group.

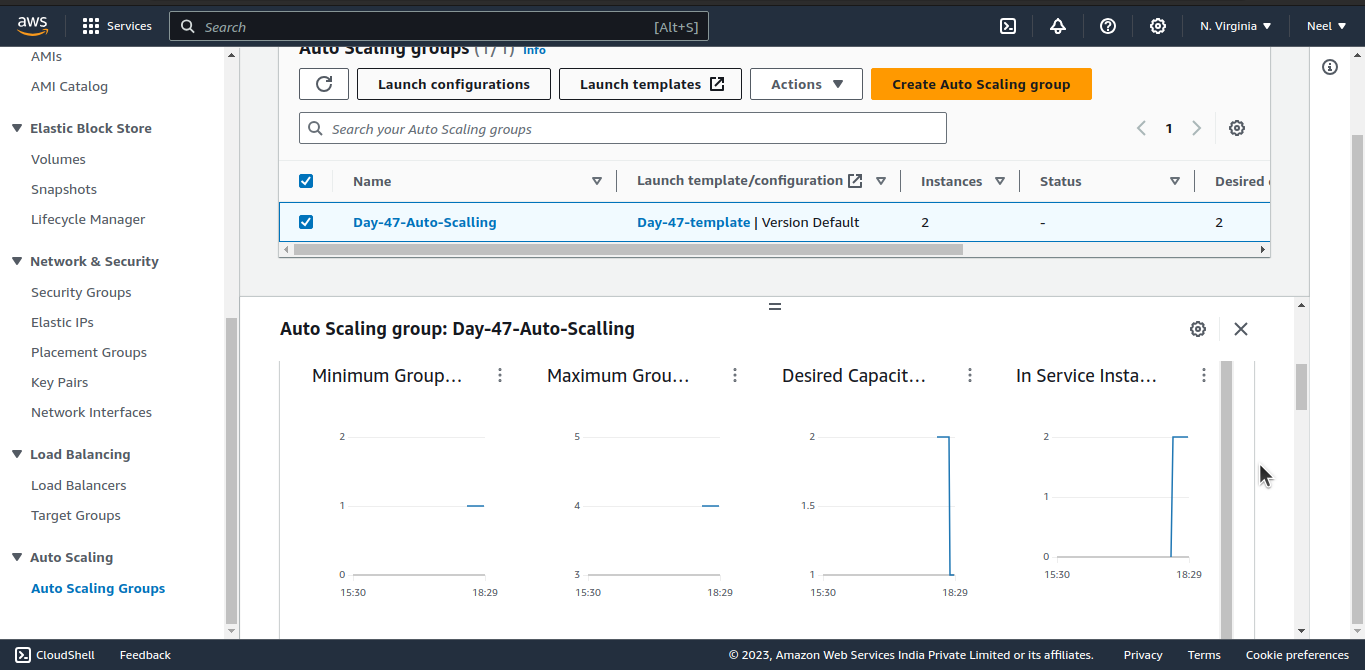
Use Amazon CloudWatch to monitor the performance of the Auto Scaling group and the EC2 instances and troubleshoot any issues that arise.
The target tracking policy in autoscaling has created 2 alarms with 2 different conditions in CloudWatch.

Once the alarm is set up, it will start monitoring the specified metric for the Auto Scaling group. If the metric exceeds the threshold limit that you have set, the alarm will be triggered and take the action that you have specified. (increase or decrease the instances)
To monitor the performance of the Auto Scaling group and the EC2 instances, go to Auto Scaling Groups then click on monitoring.

Scroll down and Enable Auto Scaling group metrics collection.

Use the AWS CLI to view the state of the Auto Scaling group and the EC2 instances and verify that the correct number of instances are running
First, to use AWS CLI, you need to install AWS CLI into your machine. To install it write the command:
sudo apt install awscli -ySecond, configure the awscli by
aws configure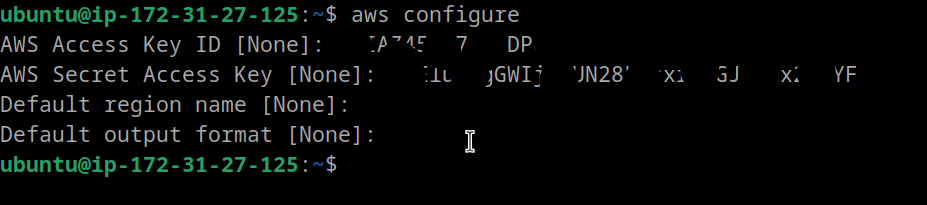
Then, to view the state of auto scaling group give command:
aws autoscaling describe-auto-scaling-groups --region=us-east-1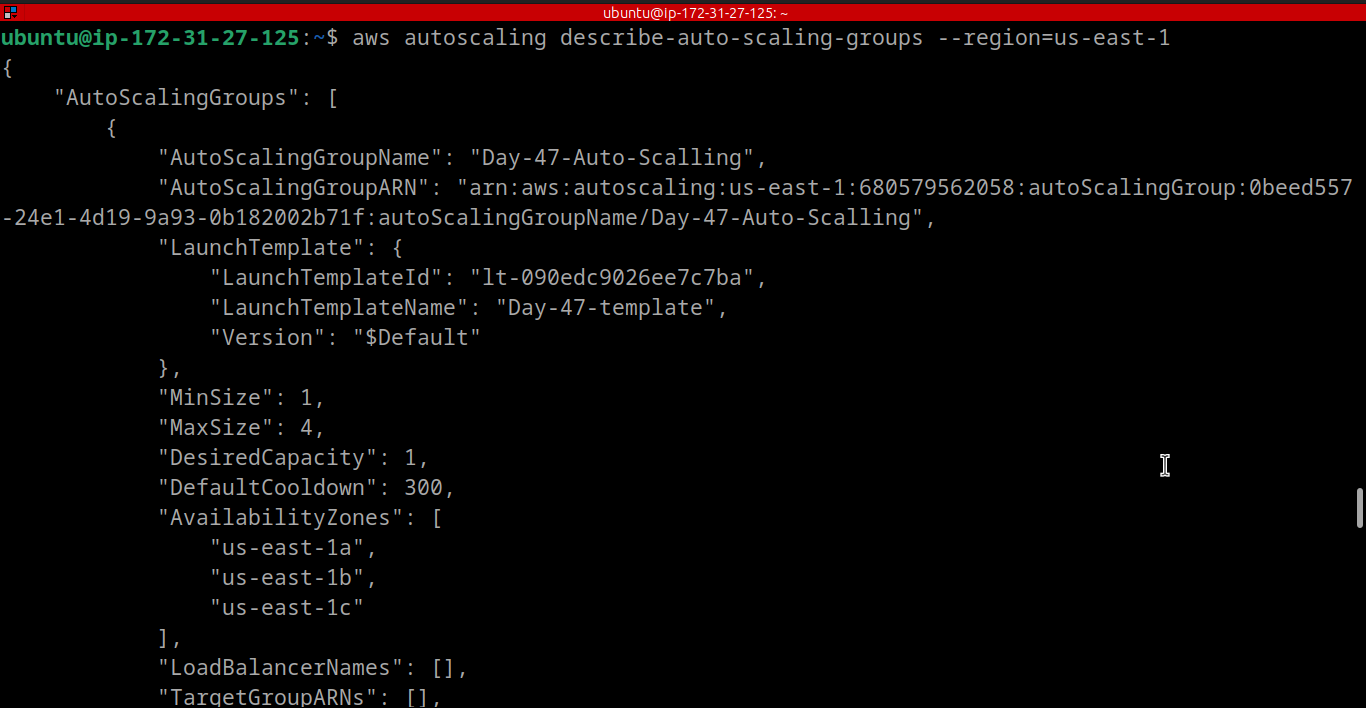
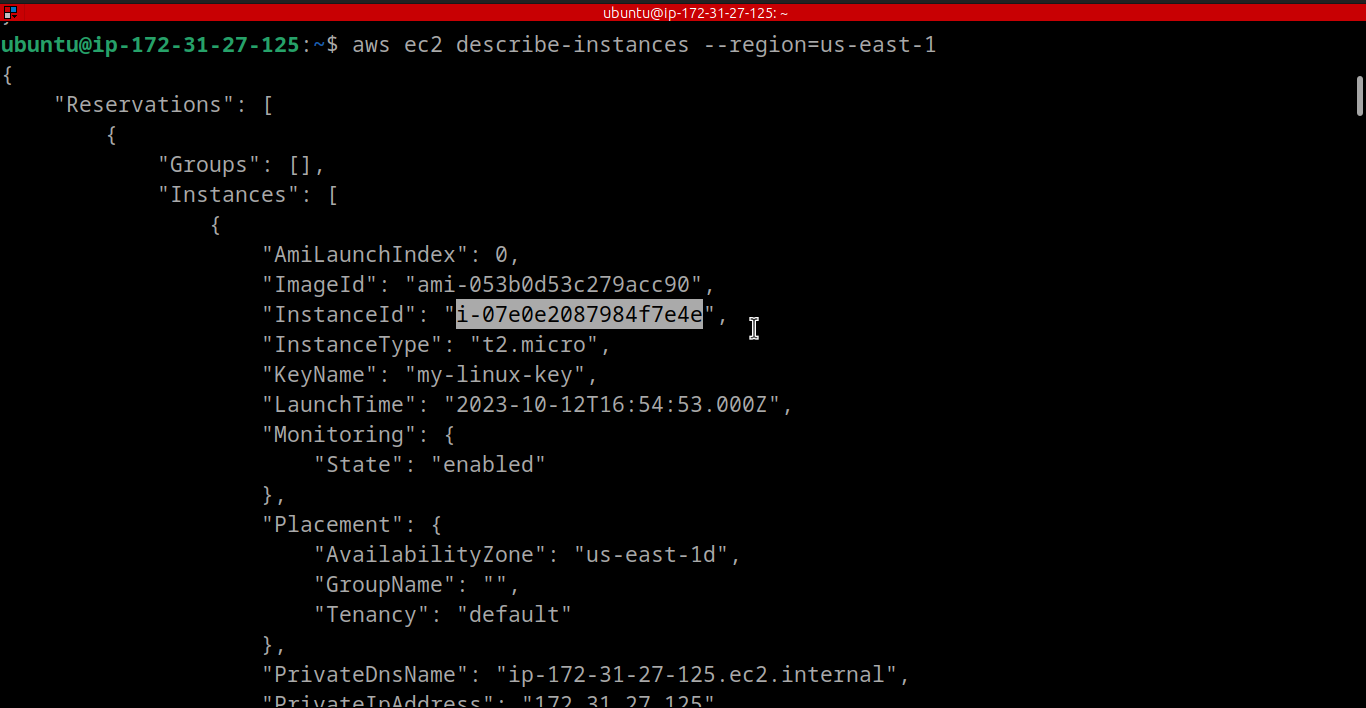
Next, to view the state of aws EC2 instances write the command:
aws ec2 describe-instances --region=us-east-1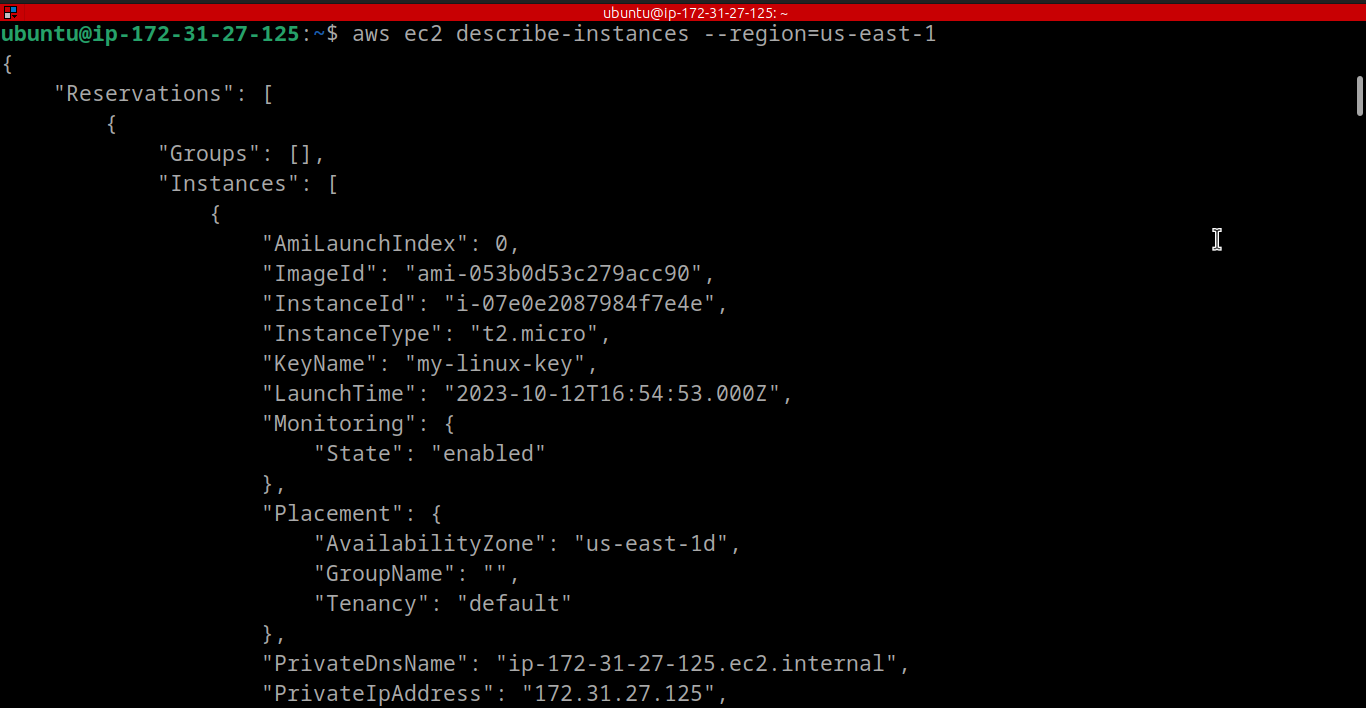
In the cli, it gave 3 instances and also 3 are running on the dashboard.


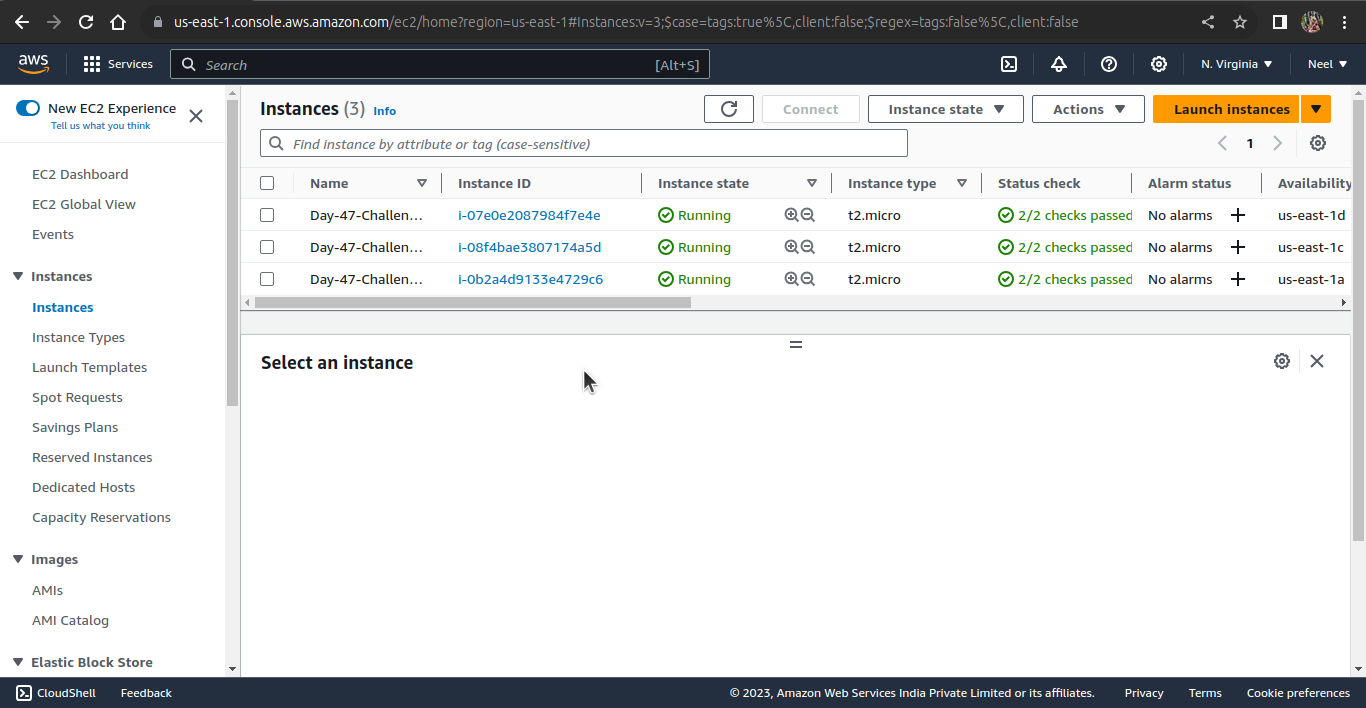
Verified.
Thank you.


